The geofence feature enables fleet managers to be alerted when vehicles enter, leave, dwell or speed in specific areas, at specific times. Geofences have multiple uses, from providing a record of all vehicles entering or leaving a work site, to preventing theft.
Creating a geofence
Determining the shape and location
From the dashboard, click on ‘Geofencing’ on the left-hand menu.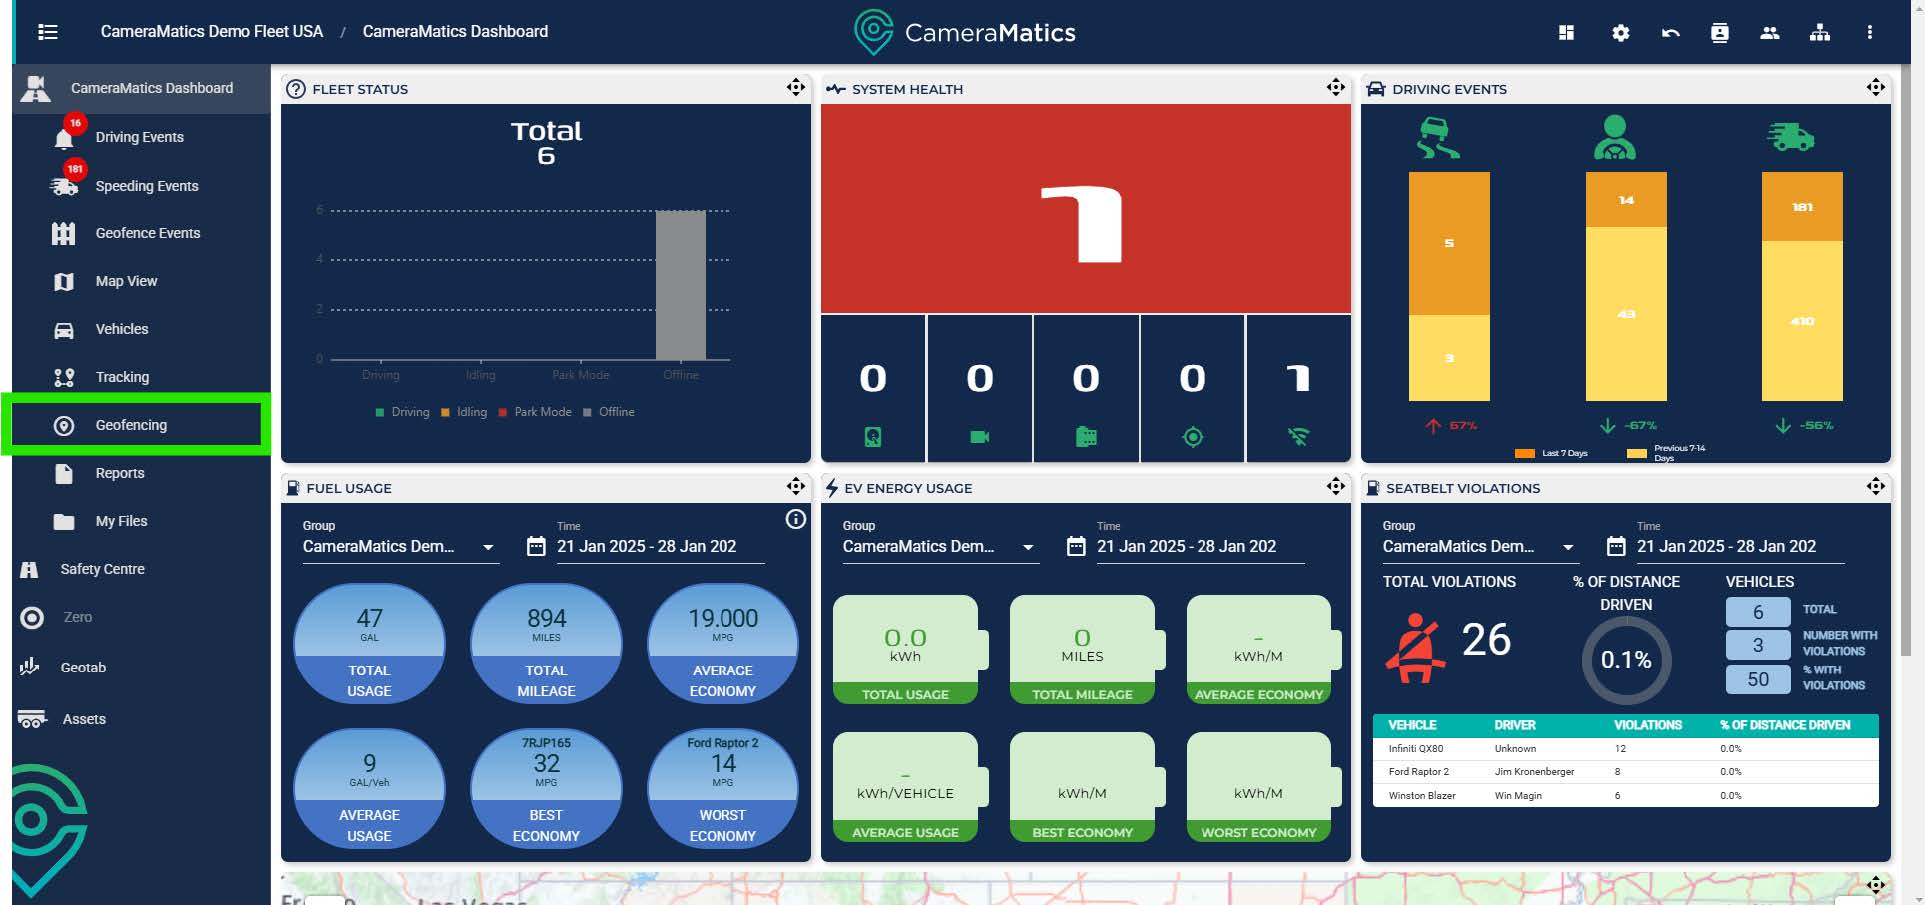
This displays a list of existing geofences. To create a new geofence, simply click on the + button highlighted below.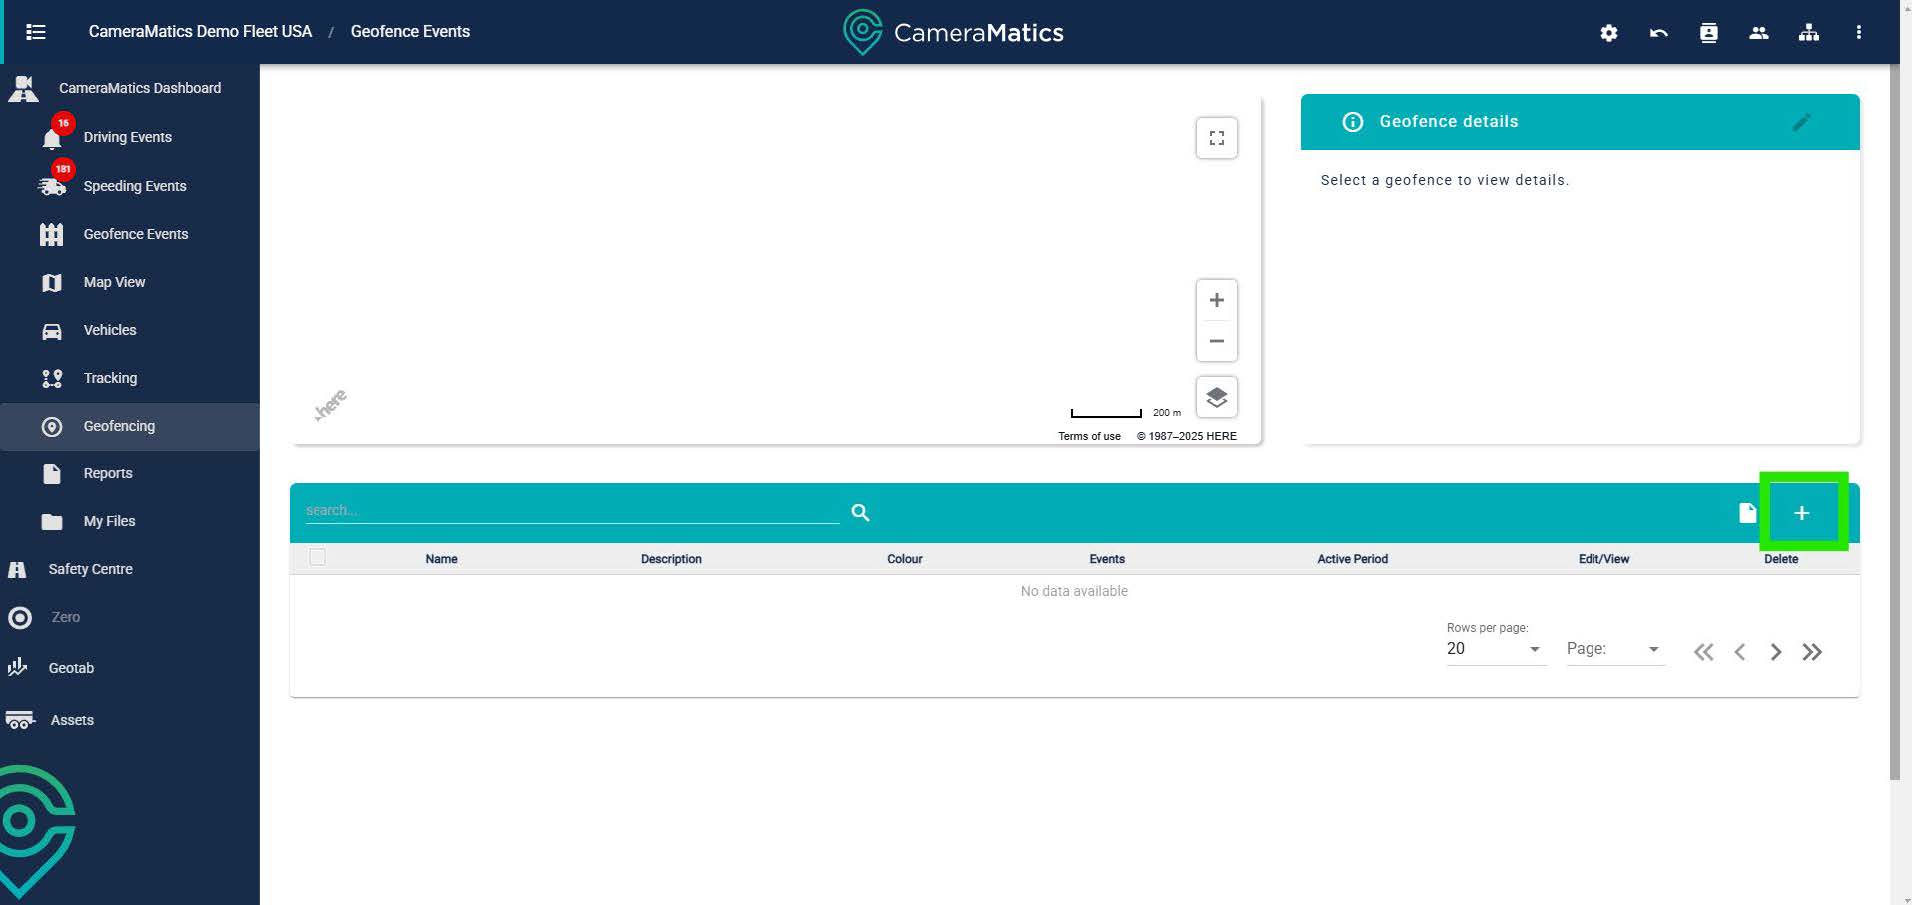
Here we define the geofence.
First, find the precise location on the map, you can use a full-screen option to view it better.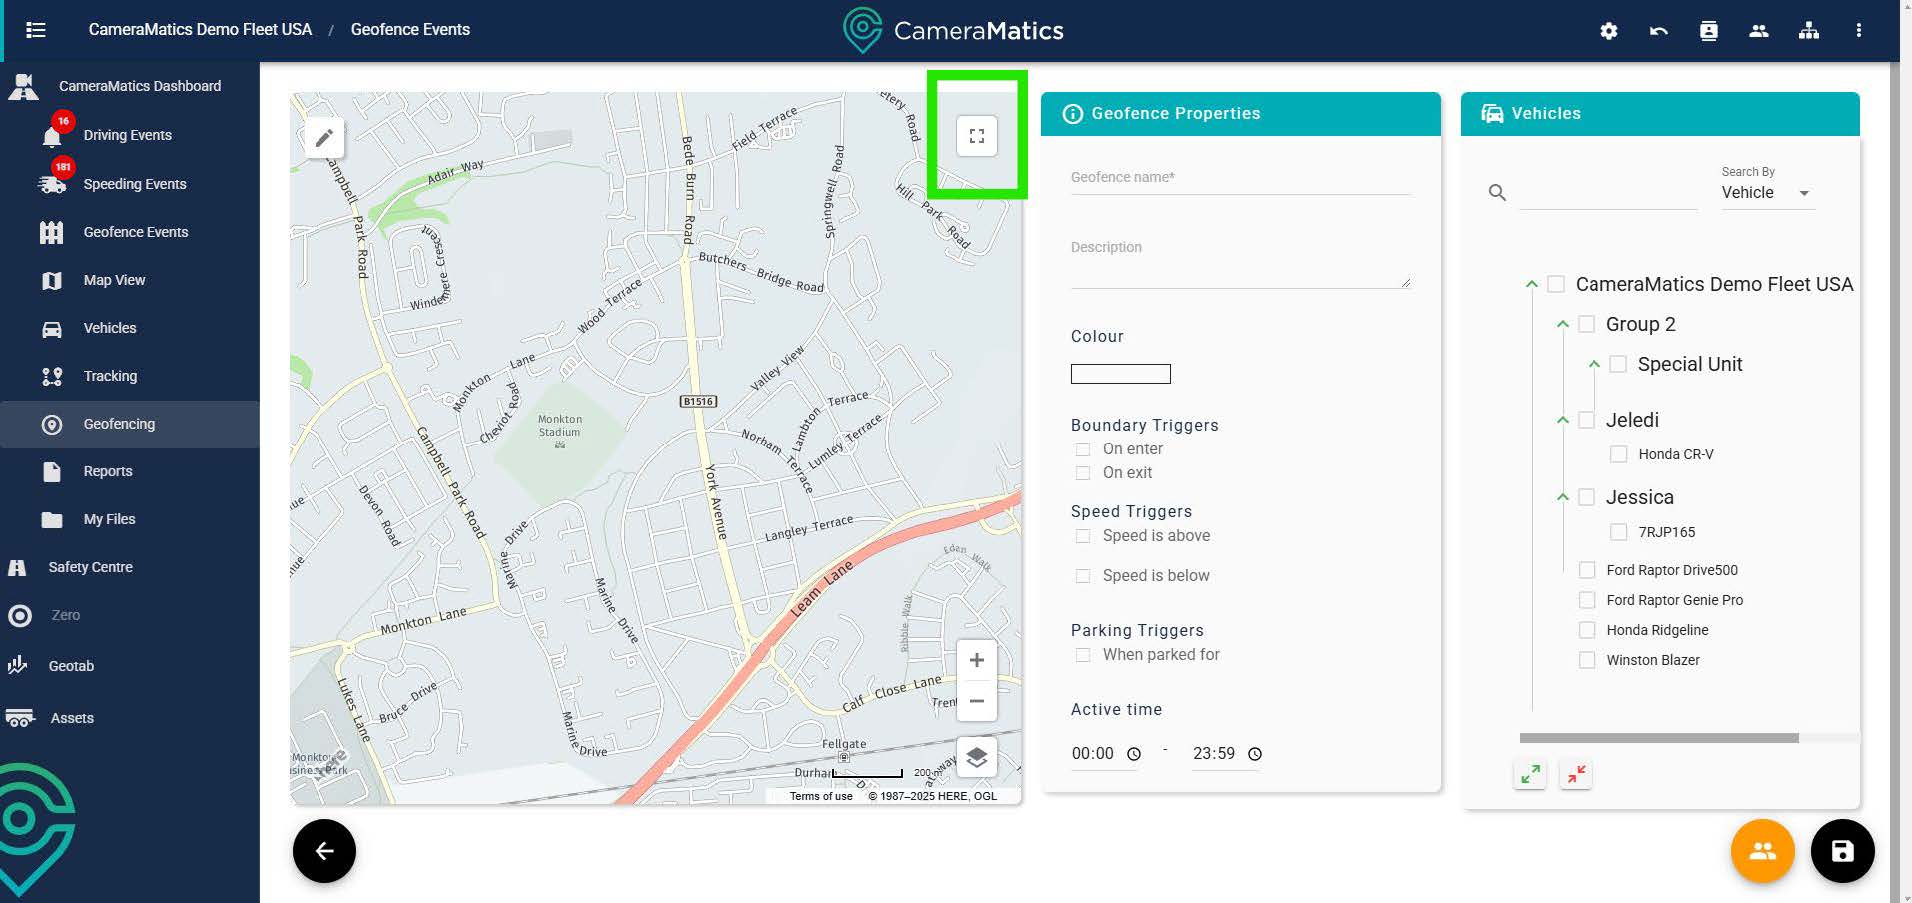
If necessary, select satellite on the view options to give a better view.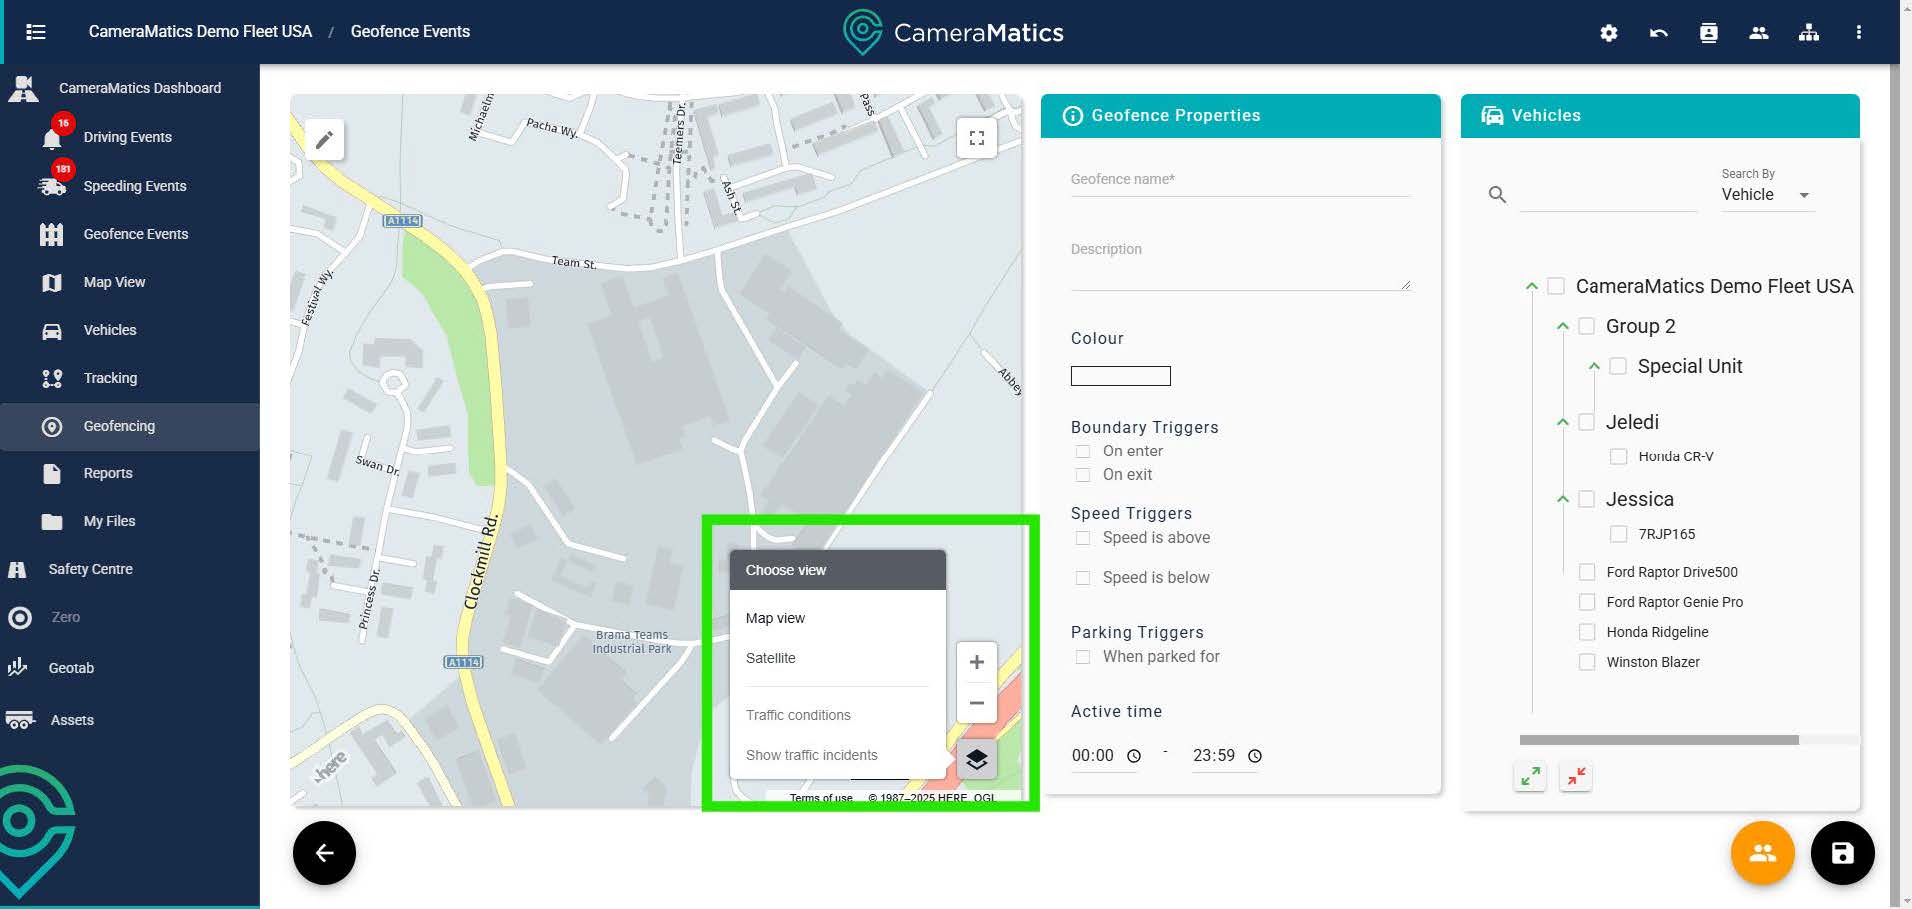
At the top left, click on the pencil to select the shape of the geofence. The pentagon should be selected if you want to create a free-form shape.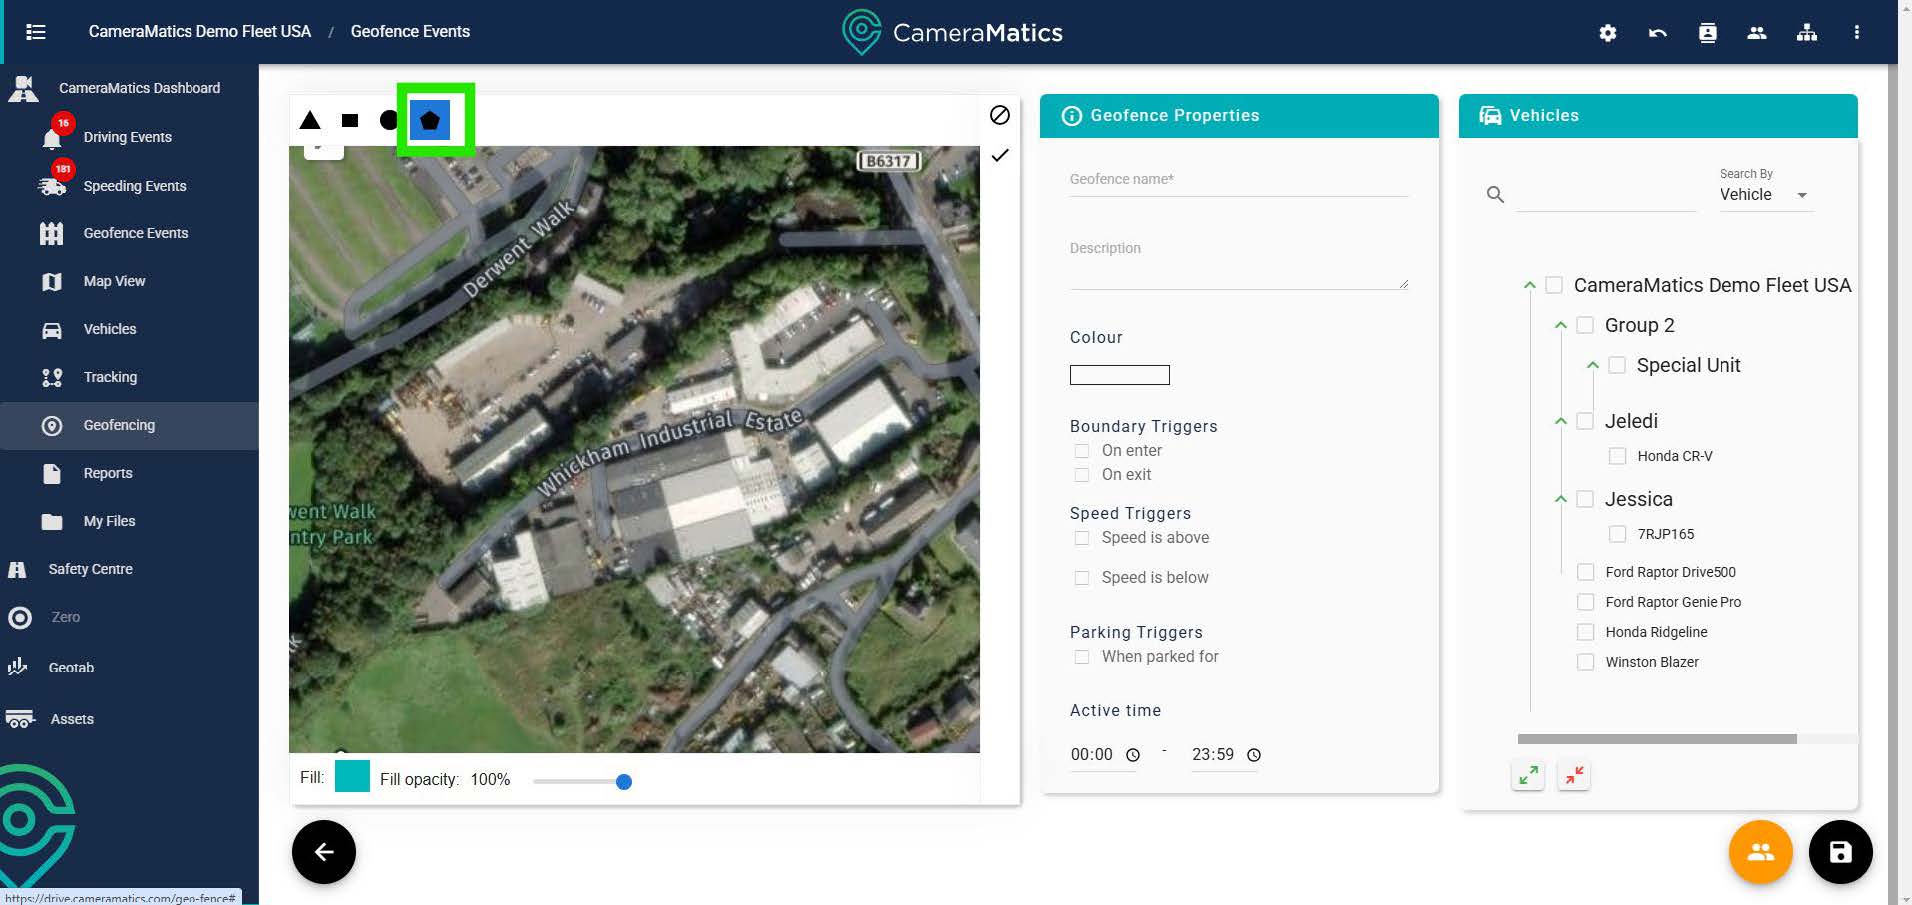
Once you have drawn your shape on the screen, click the tick on the right hand side to determine the opacity of the shape.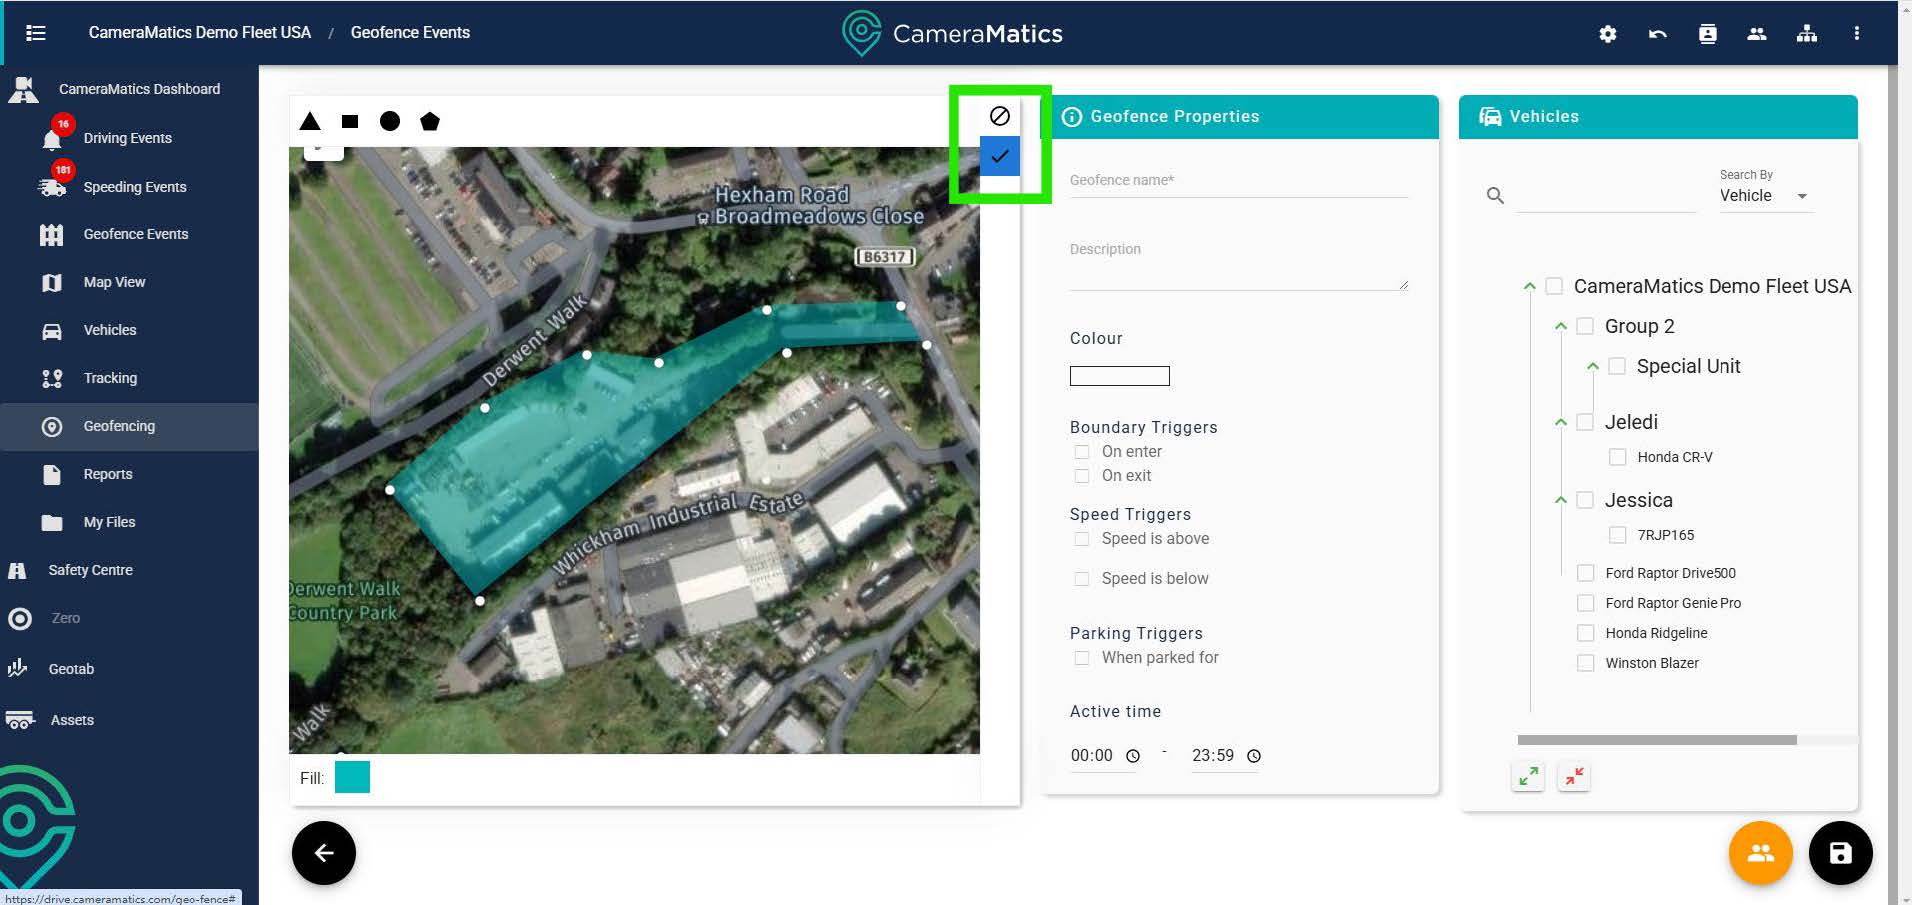
Selecting the Settings for the Geofence
Now that we are happy with the shape we need to determine the settings for the geofence itself.
First, provide it with a meaningful name and description, and change the colour of the shape if you wish.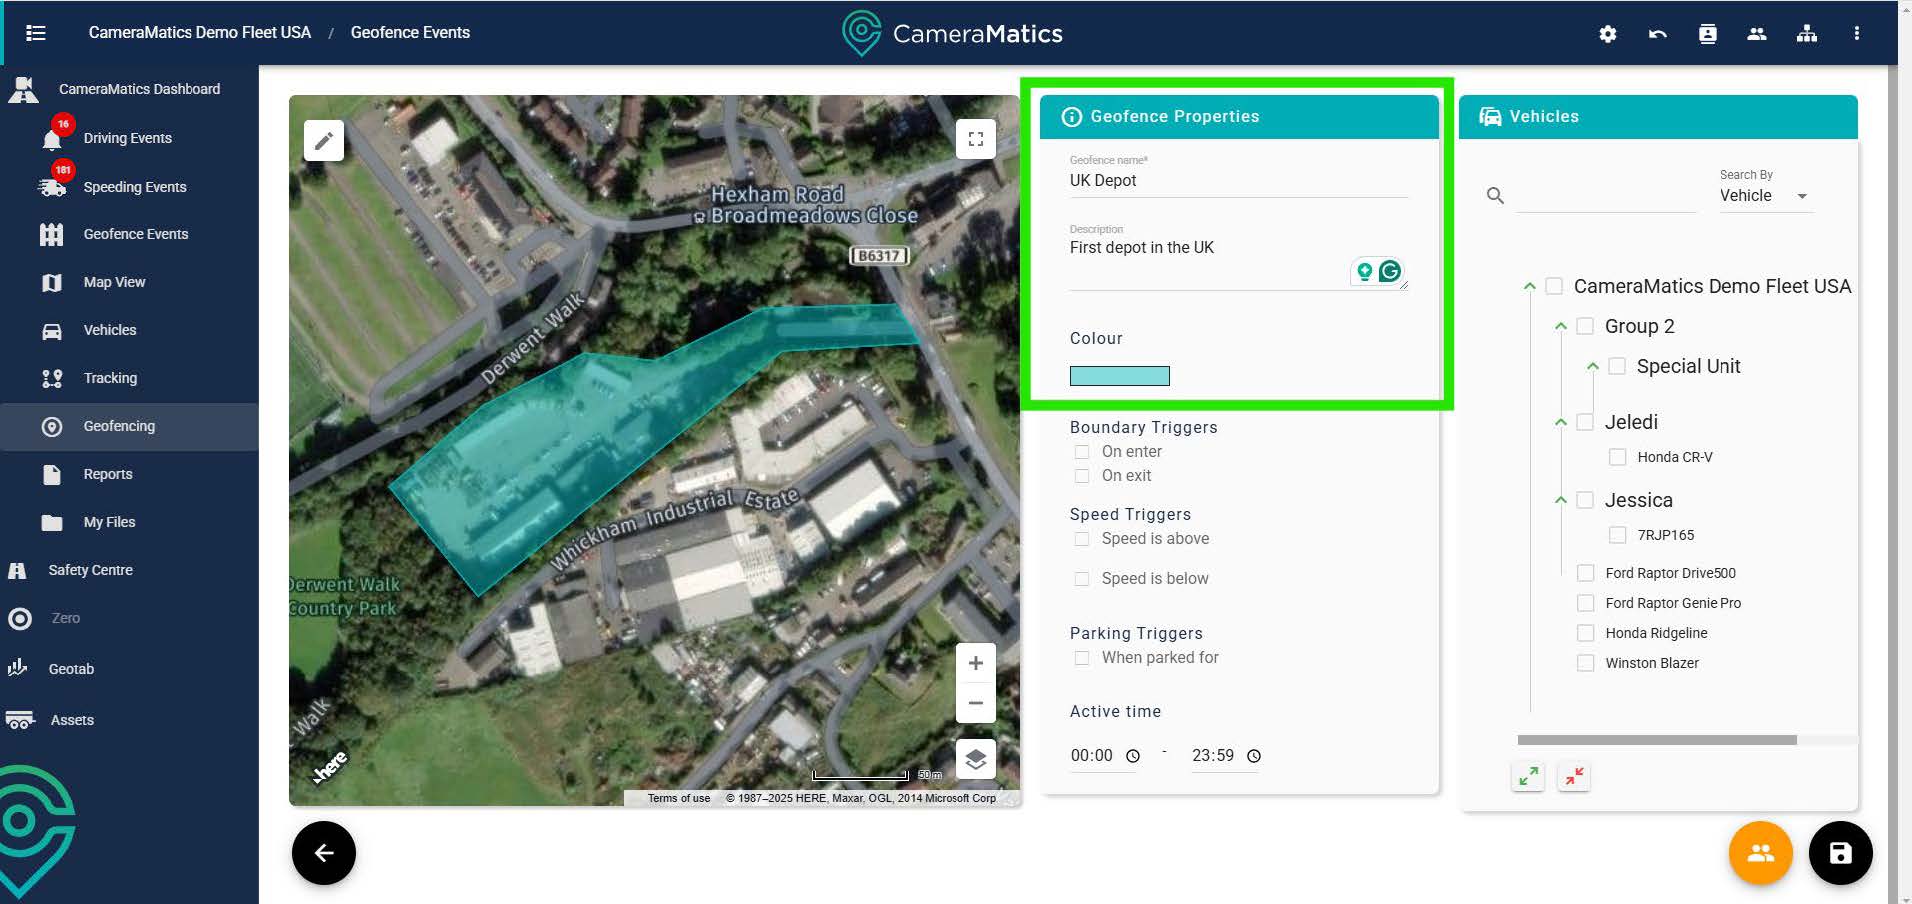
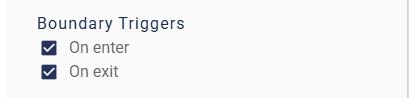
Now we must determine what events will trigger an event in relation to this geofence.
These can include boundary triggers:
- On Enter – When a vehicle enters the geofence
- On Exit – When the vehicle leaves a geofence
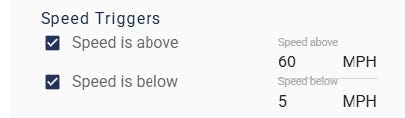
Speed triggers:
- Speed is Above – An event is created when vehicle speed goes above the set limit within the area of the geofence.
- Speed is Below – An event is created when vehicle speed goes above the set limit within the area of the geofence. Suitable for locations where vehicles are not meant to stop and have a minimum speed limit in force.
Parking triggers:
- When Parked For – An event is created when a vehicle is parked for more than the specified time within the geofence.

Active time:
Enables you to set a time period within which events are recorded. This could be the duration of the working day for a worksite, or overnight at a depot in order to detect vehicle theft.

Selecting vehicles for the geofence
You may want only certain vehicles to trigger events in a geofence. To the right, the structure of the company’s groups is displayed. You can either select a whole group or you can select individual vehicles to trigger geofence events. Of course, you can select the entire fleet by selecting the top group.
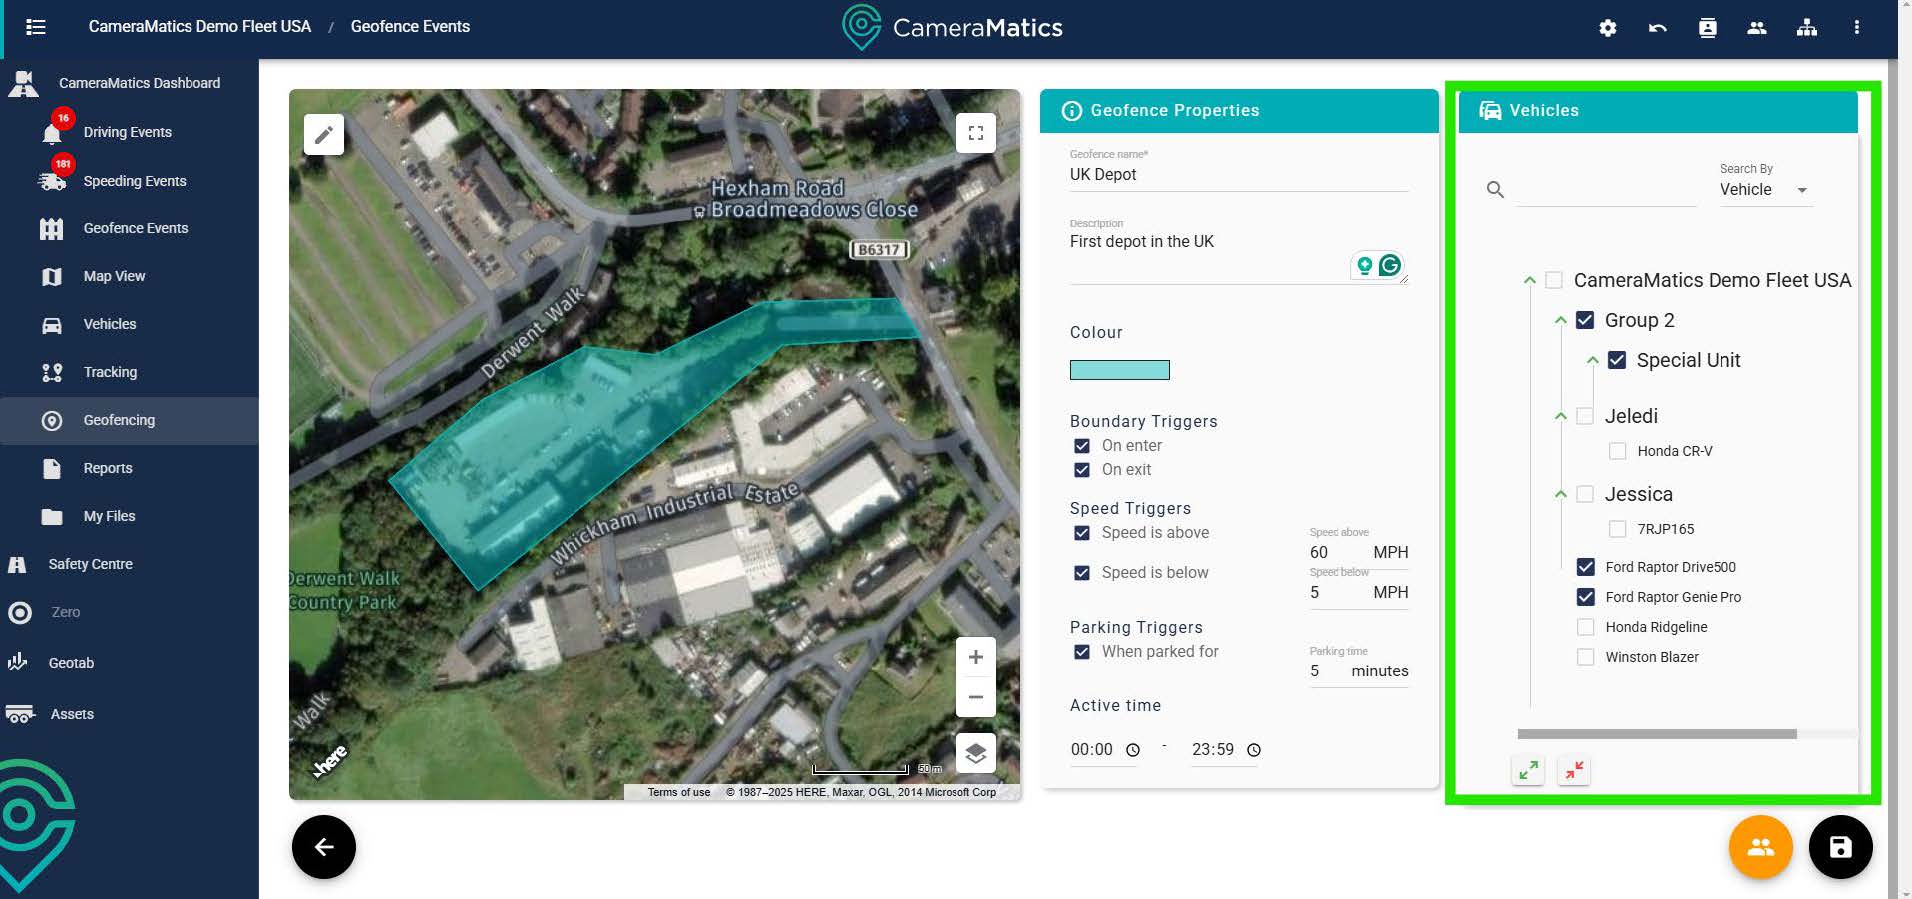
Once done, click save. This geofence will be start collecting data immediately. If you select the yellow icon to the left of the save button you can instead share this geofence with any of your contacts.


