Using the CameraMatics platform, you can keep track of your vehicles documents and your driver’s documents. This ensures you keep on top of the admin which will also allow you to ensure both your vehicles and drivers are road-worthy.
Upload Vehicle Documents
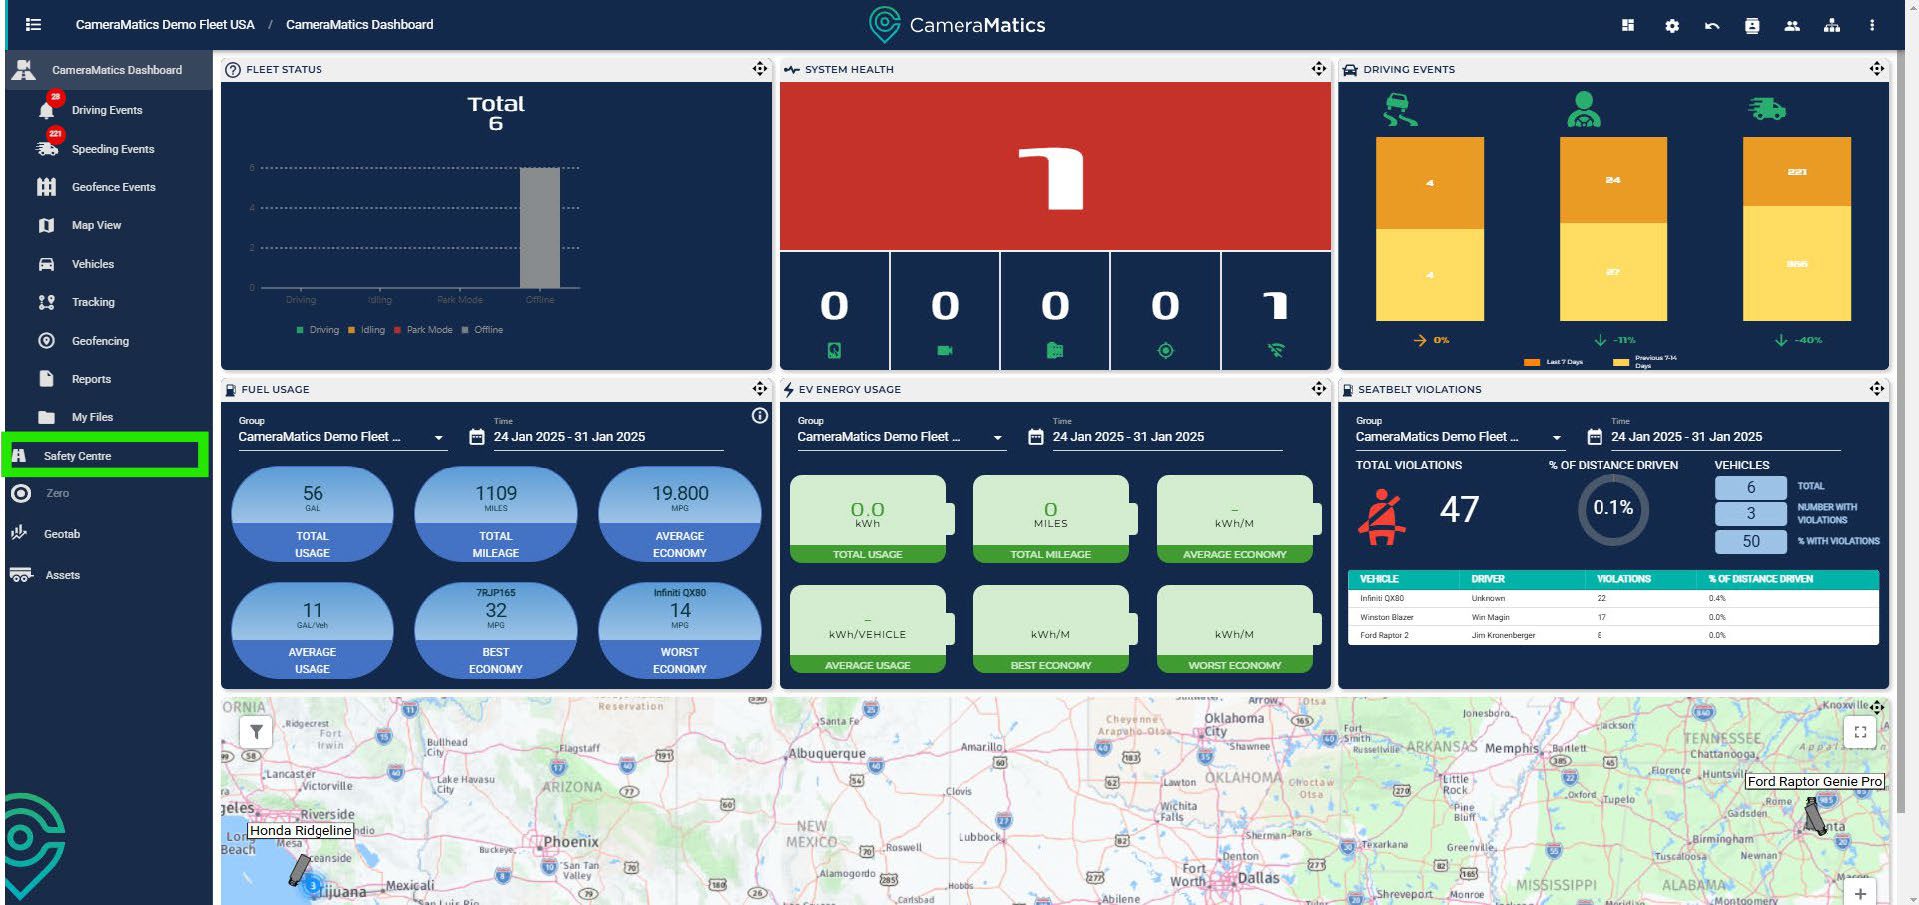
From the main dashboard, click on Safety Centre.
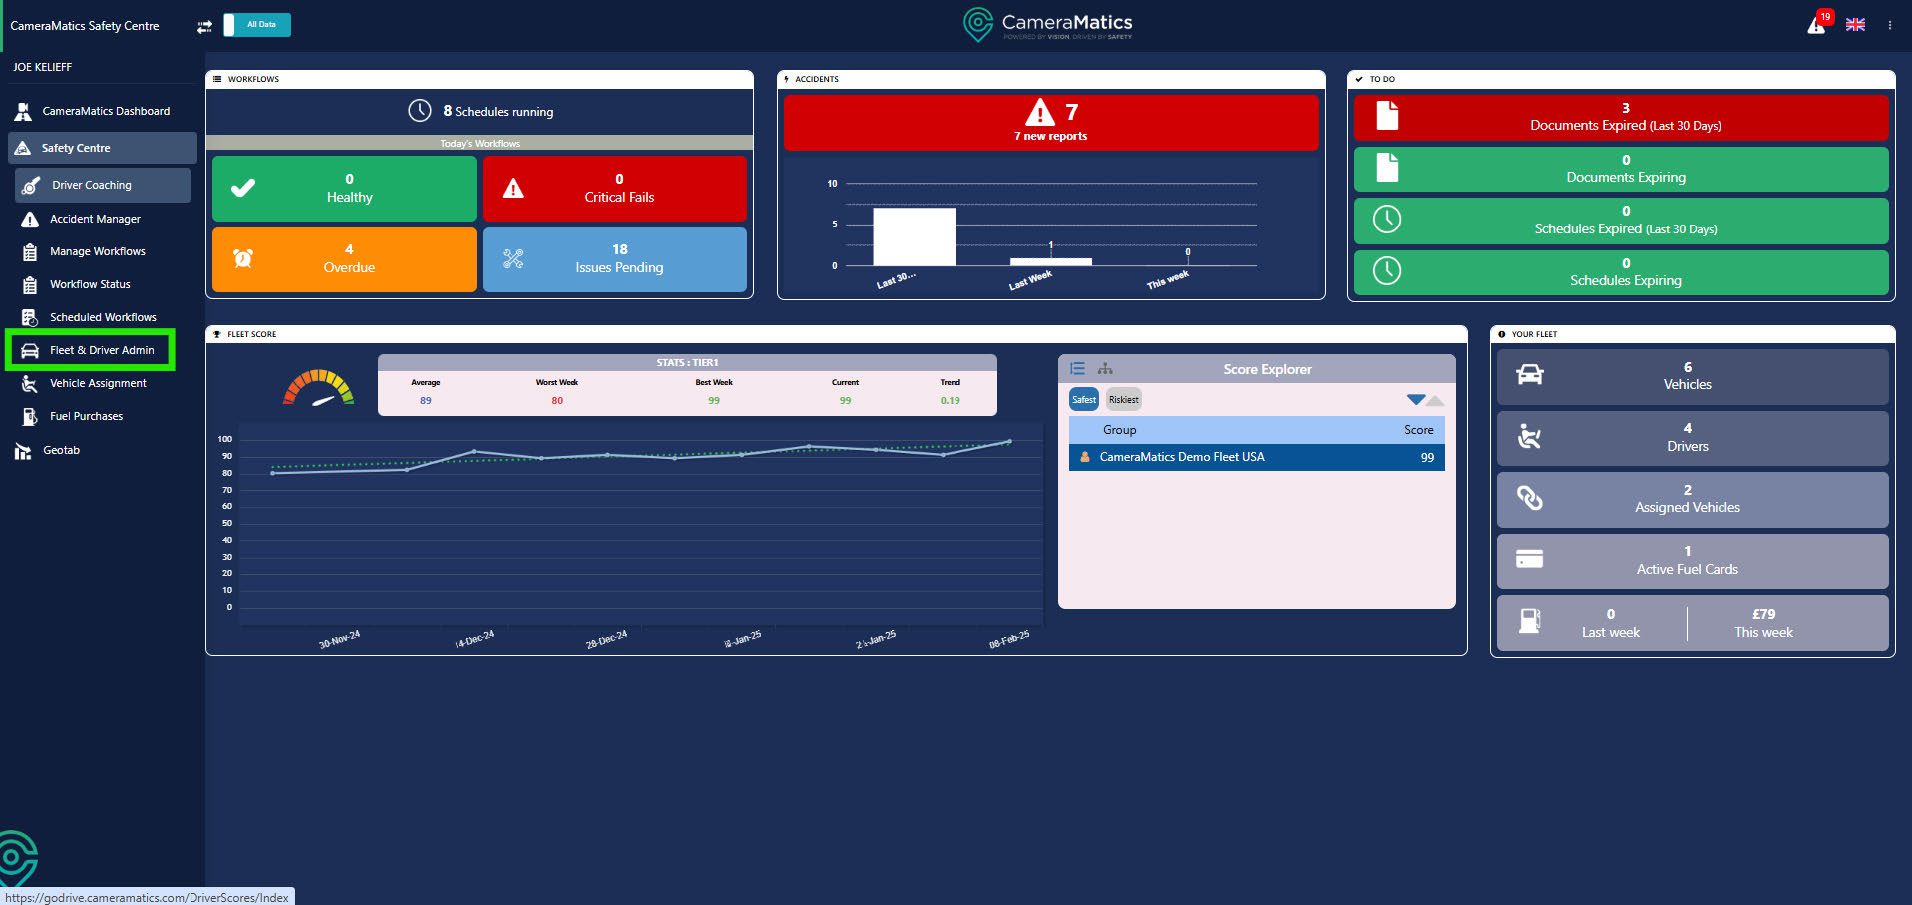
You will see Fleet and Driver Admin on the left hand side, click this.
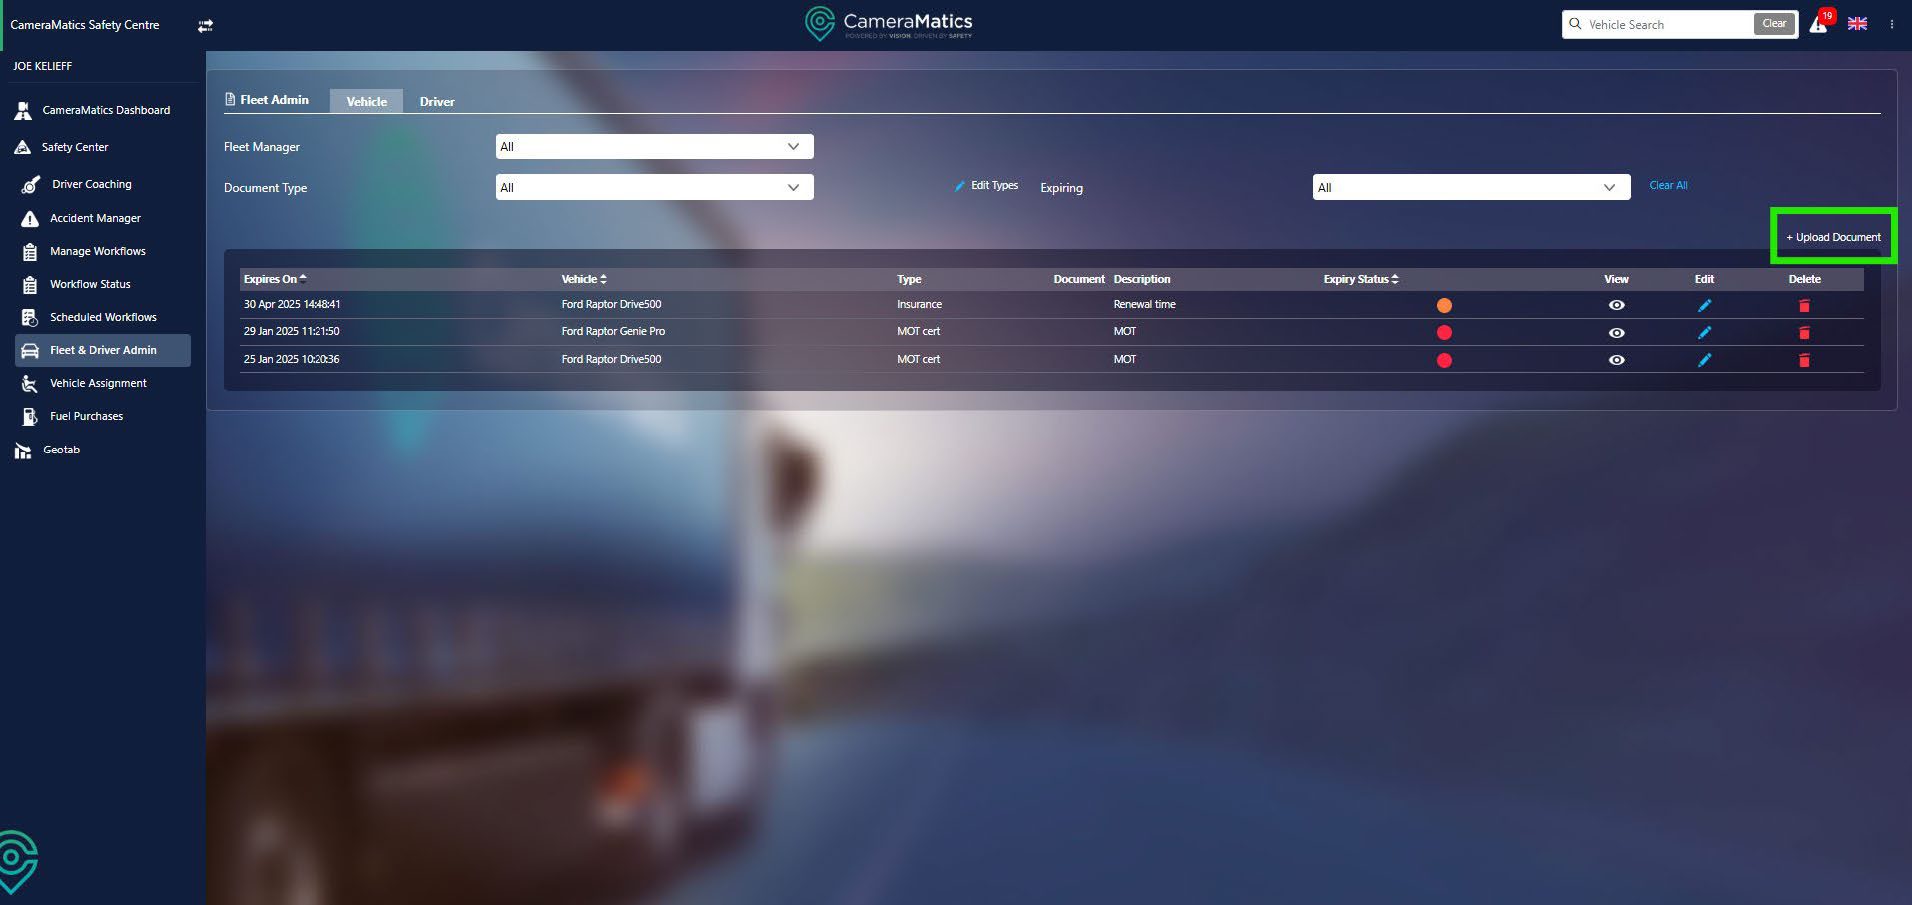
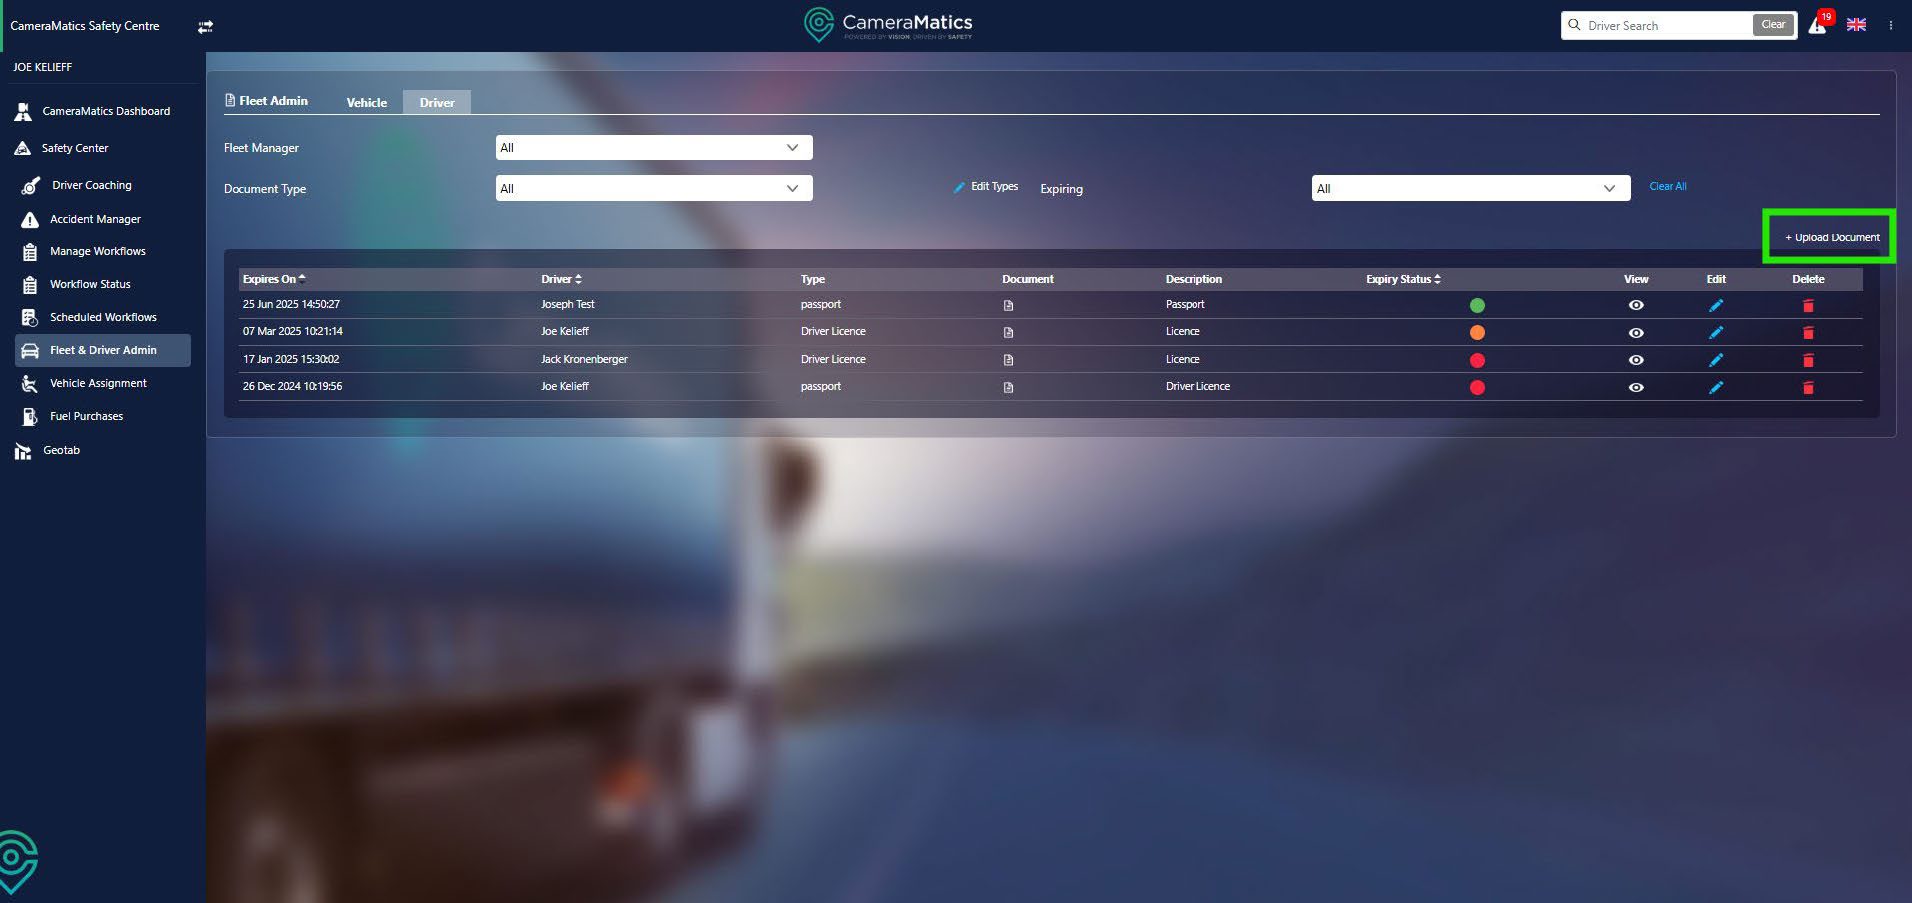
You will see all documents that have been uploaded for any vehicles as soon as you enter this screen. You can see when the document expires and an expiry status to show colour for how severe you need to action anything:
- Green – No need for concern right now
- Amber – Expiry date is nearing
- Red – Document has expired and action is required

To add a new document click on Upload Document in the top right of the table.
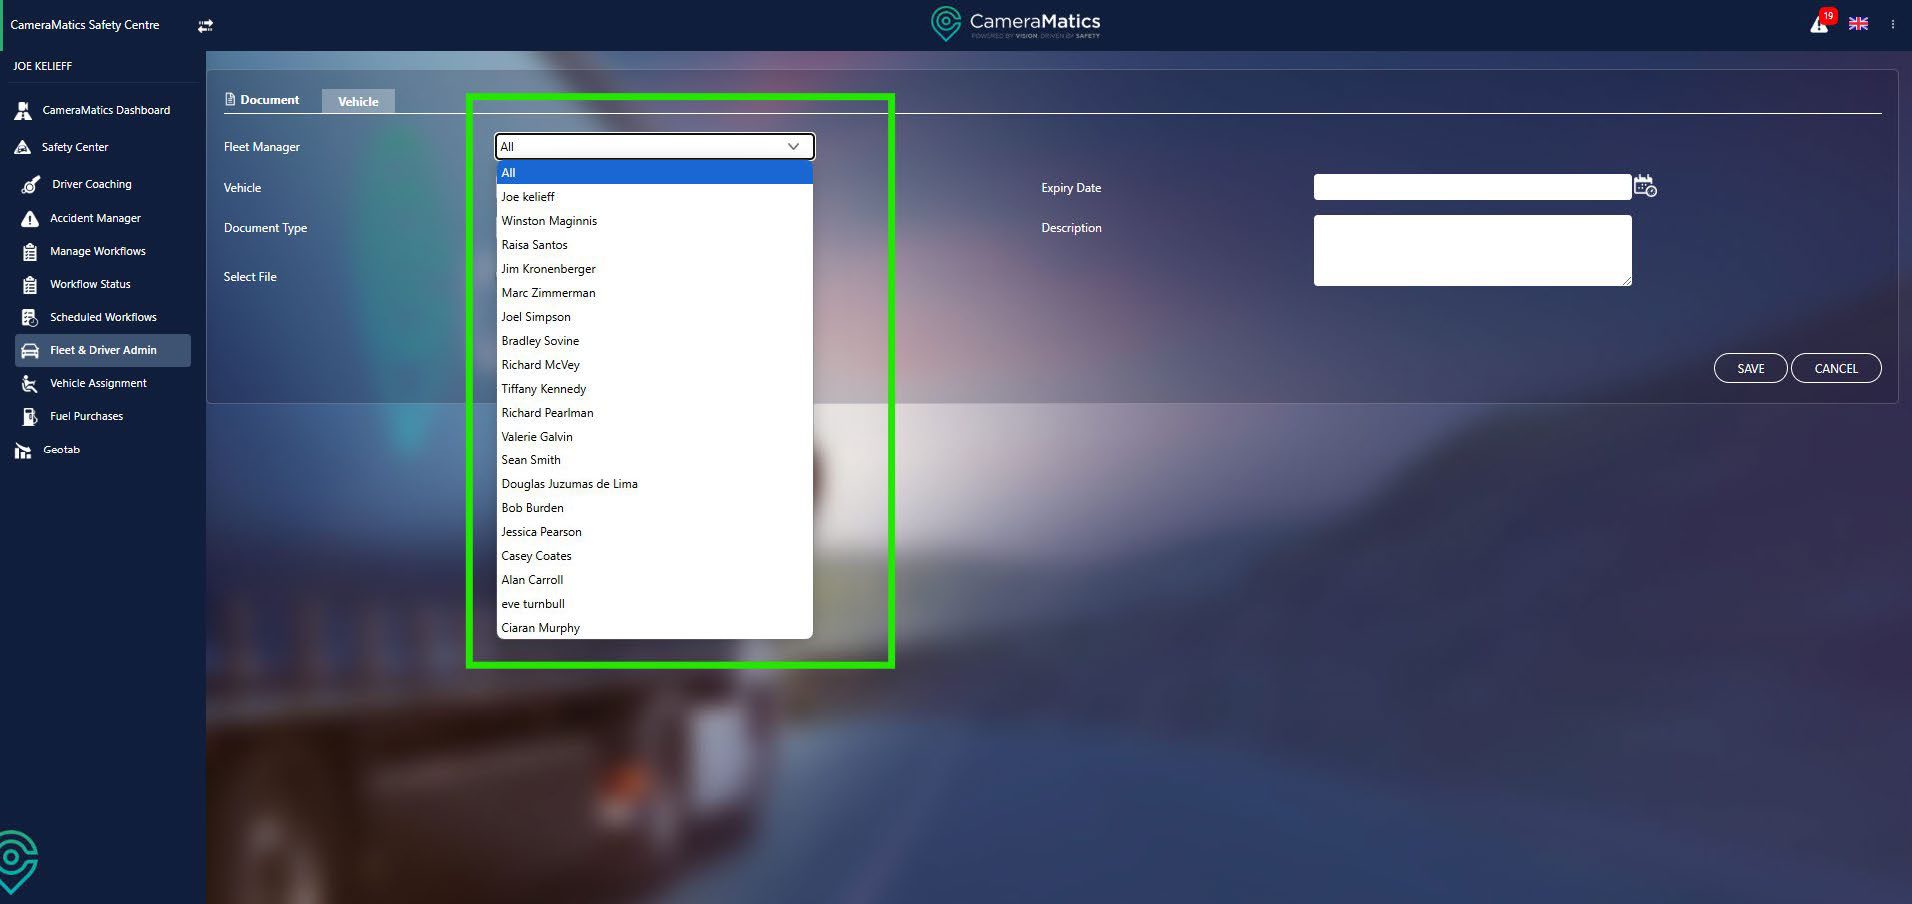
You will need to begin by selecting the fleet manager who will be looking after the documents for the vehicle under them.

Once we have selected this, we can then choose the vehicle whose document we are uploading.
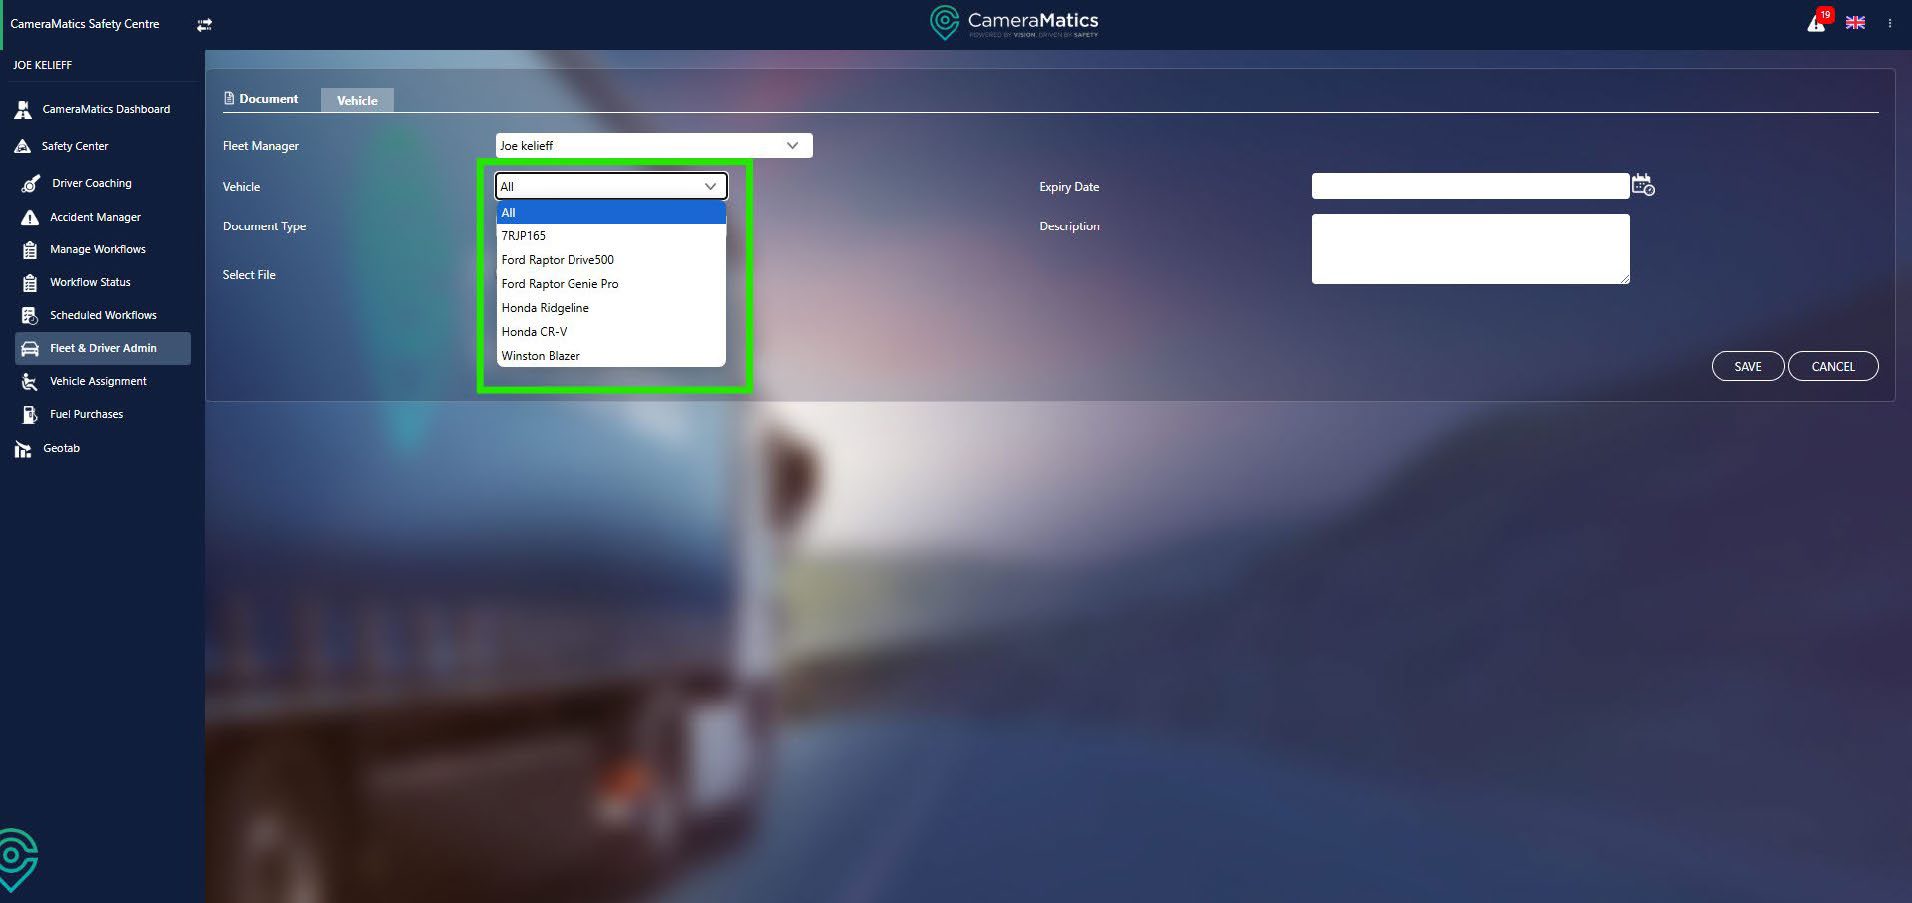
Now, we will select the type of document you will be uploading. There may be nothing in the dropdown.
If this is the case, you can type in what kind of document it is. You can continue to do this for new kinds of documents.

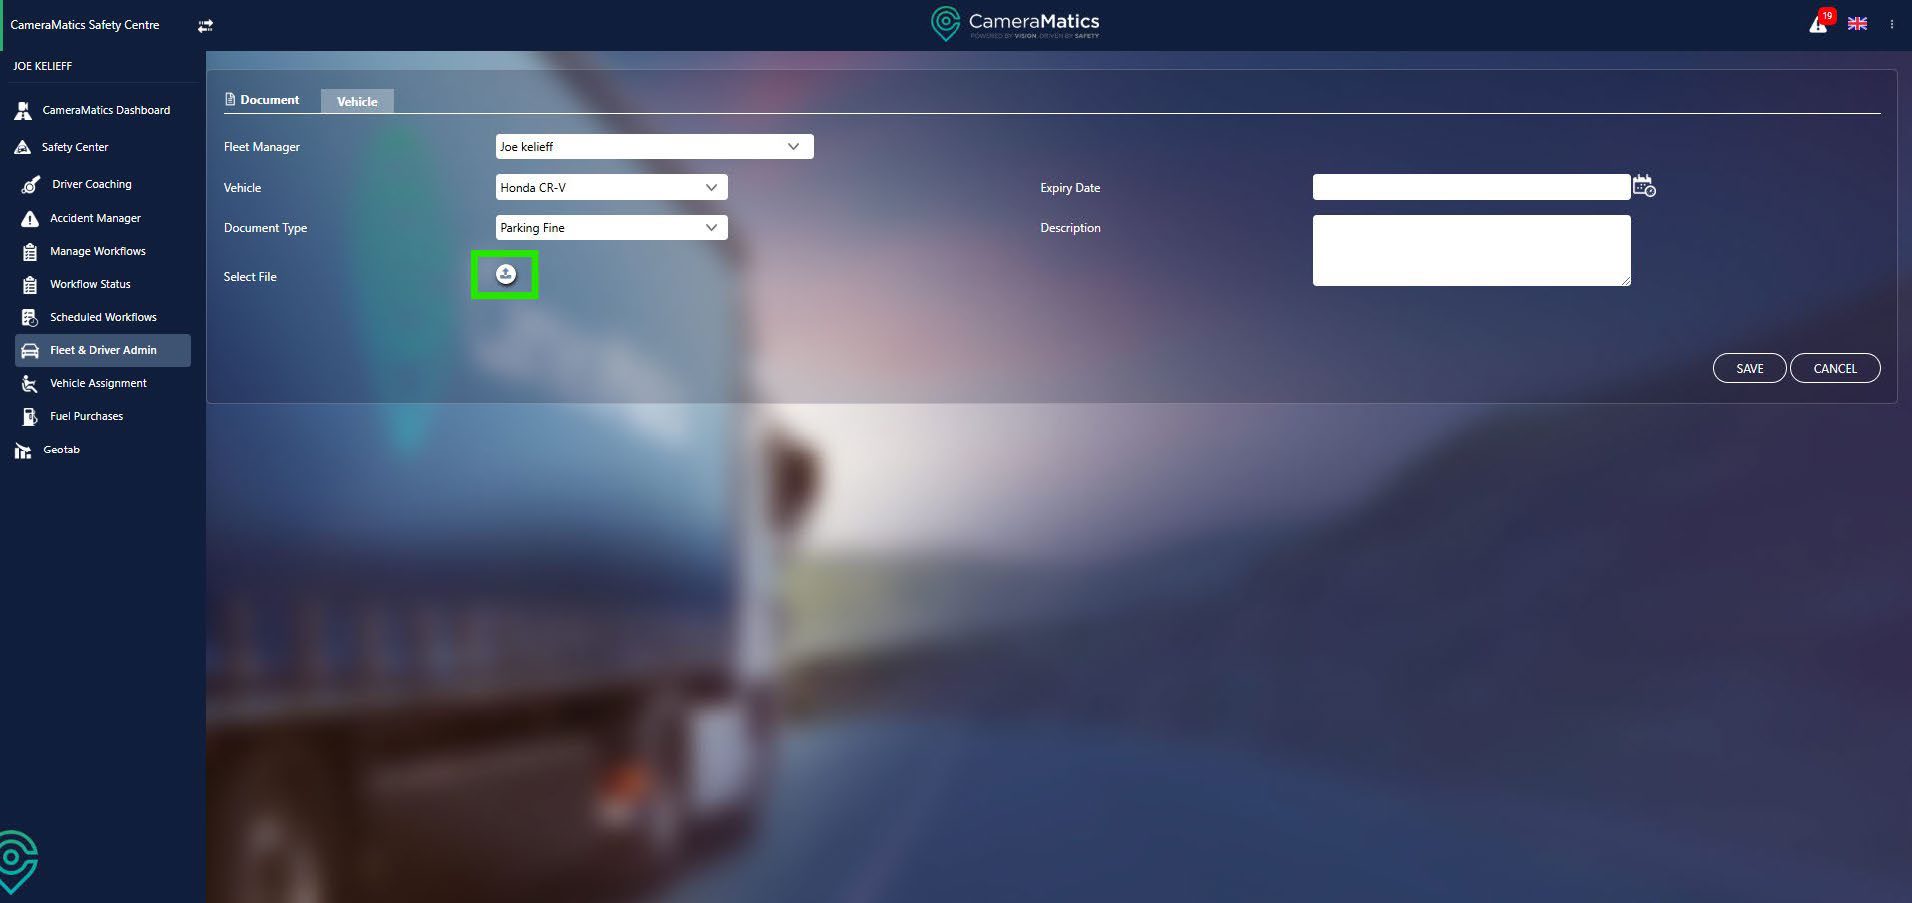
Now you will select the file for this document. This means you can upload a picture of the document so everything is all in one place.
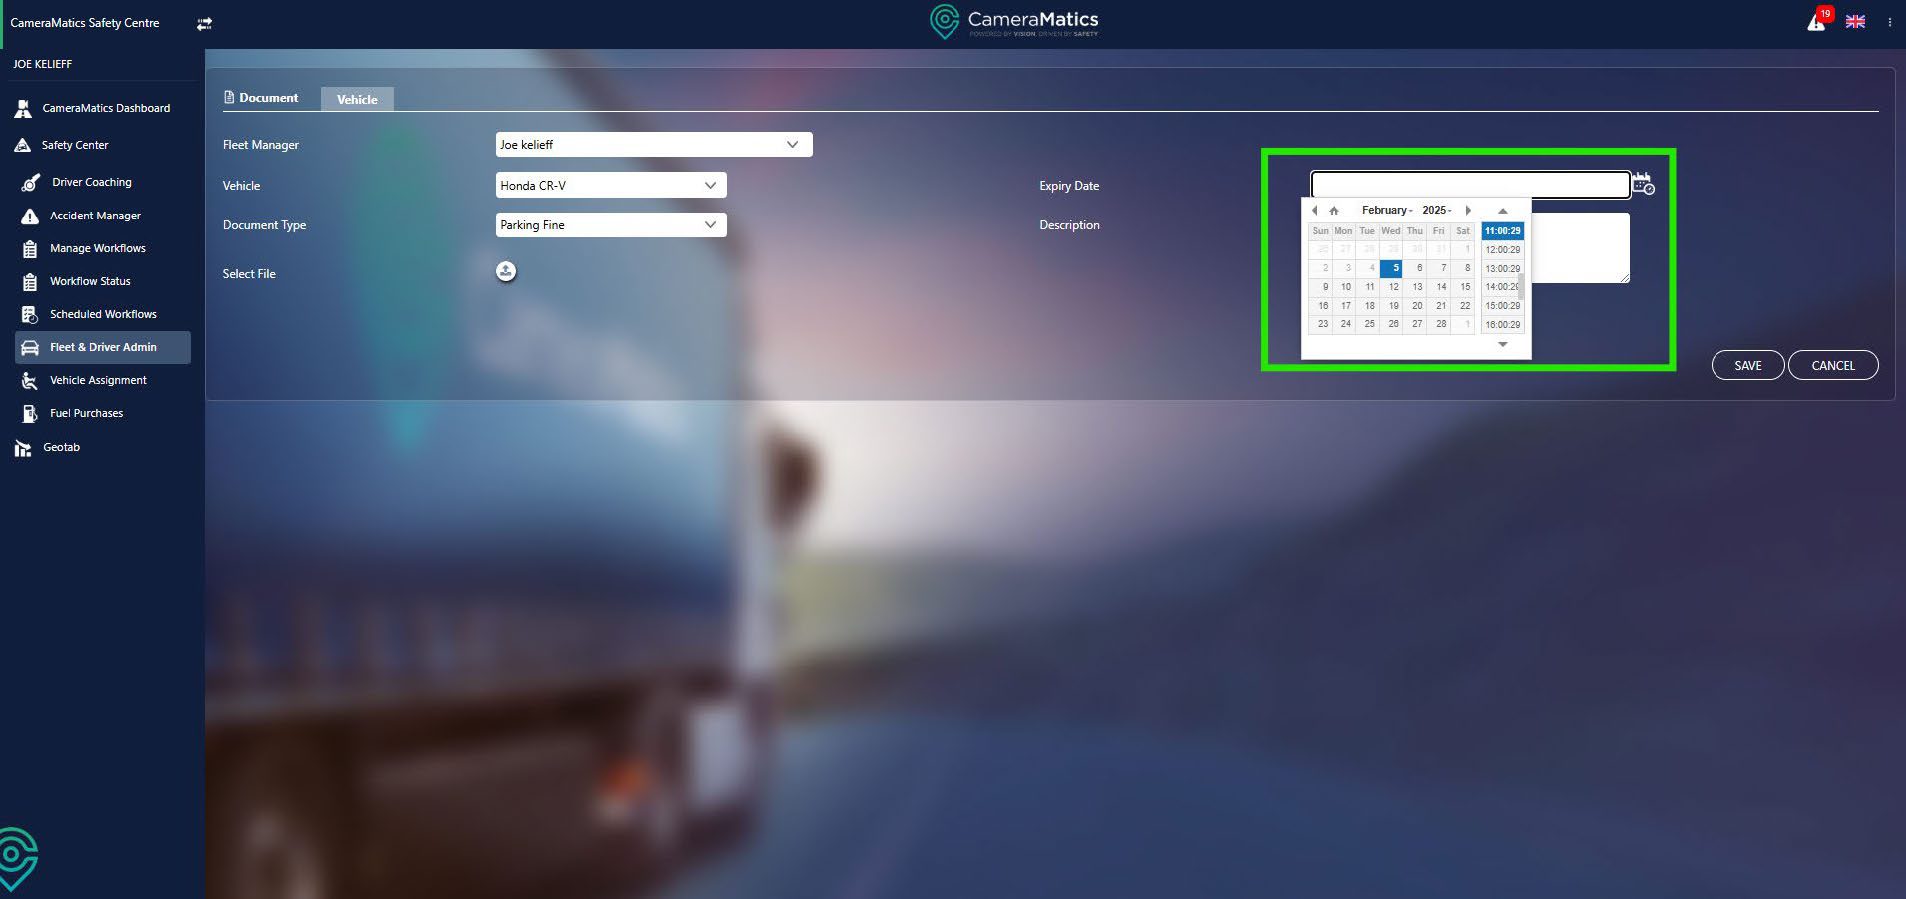
Next, you will select the expiry date. Note that you can also select the time that it will expire on the date you have selected.
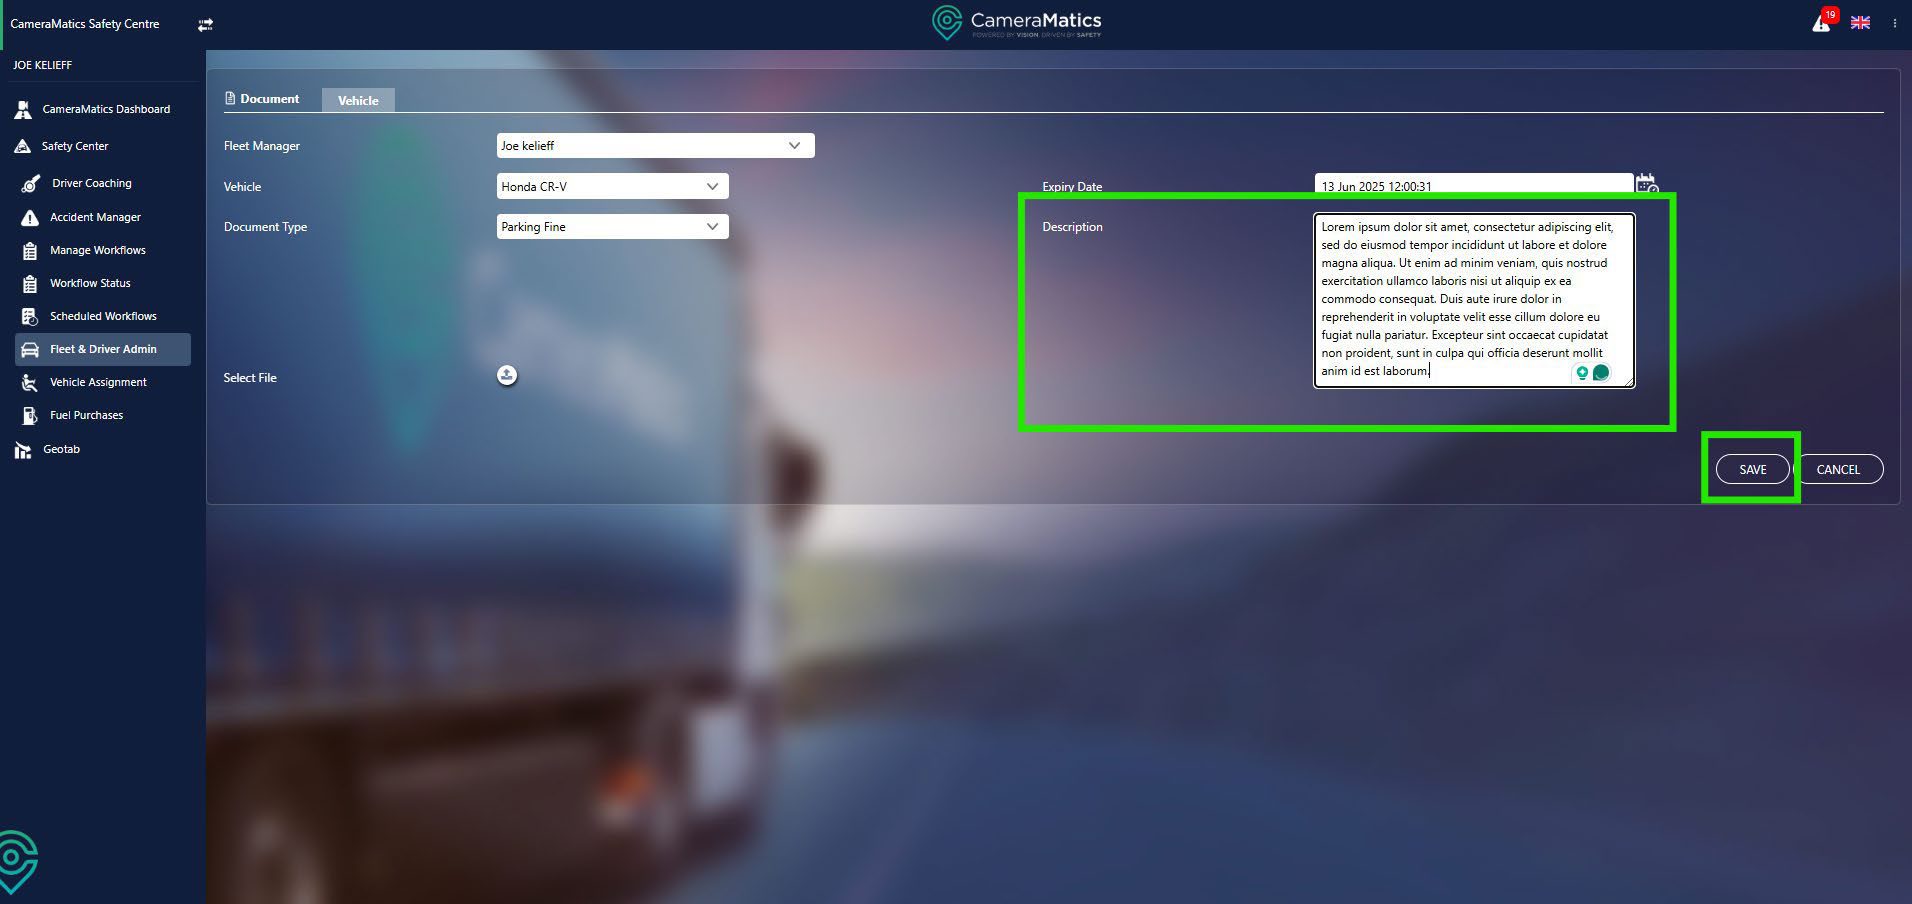
Finally, you can fill in the description box of any other data that may be important relating to this document.
Once you are satisfied, click save, and you will then be taken back to the list of documents for your different vehicles.
NOTE: Please note that anything that has been uploaded will not be available to view within the driver’s app.
Upload Your Driver’s Documents
To begin uploading the Driver document, you will need to select Driver once you enter the Fleet & Driver Admin screen.

You will see all documents that have been uploaded for any drivers as soon as you enter this screen. You can see when the document expires and an expiry status to show a colour for how severe you need to action anything.

To upload a document for your driver, click on Upload Document.
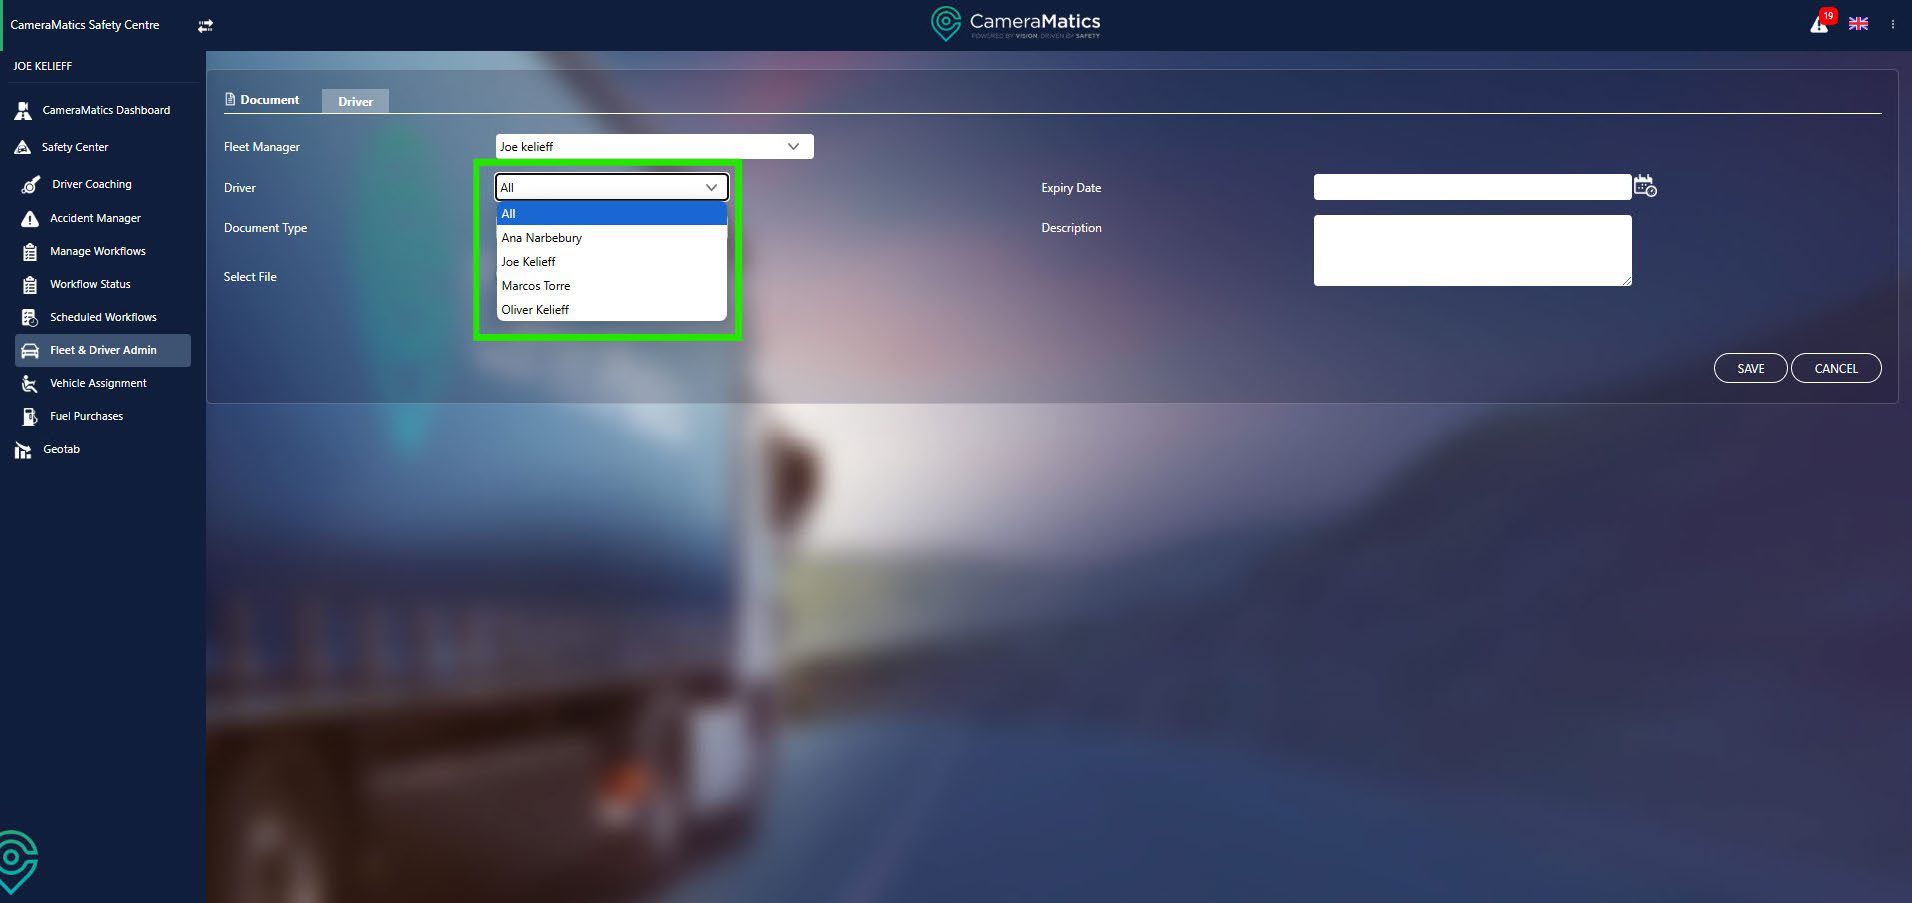
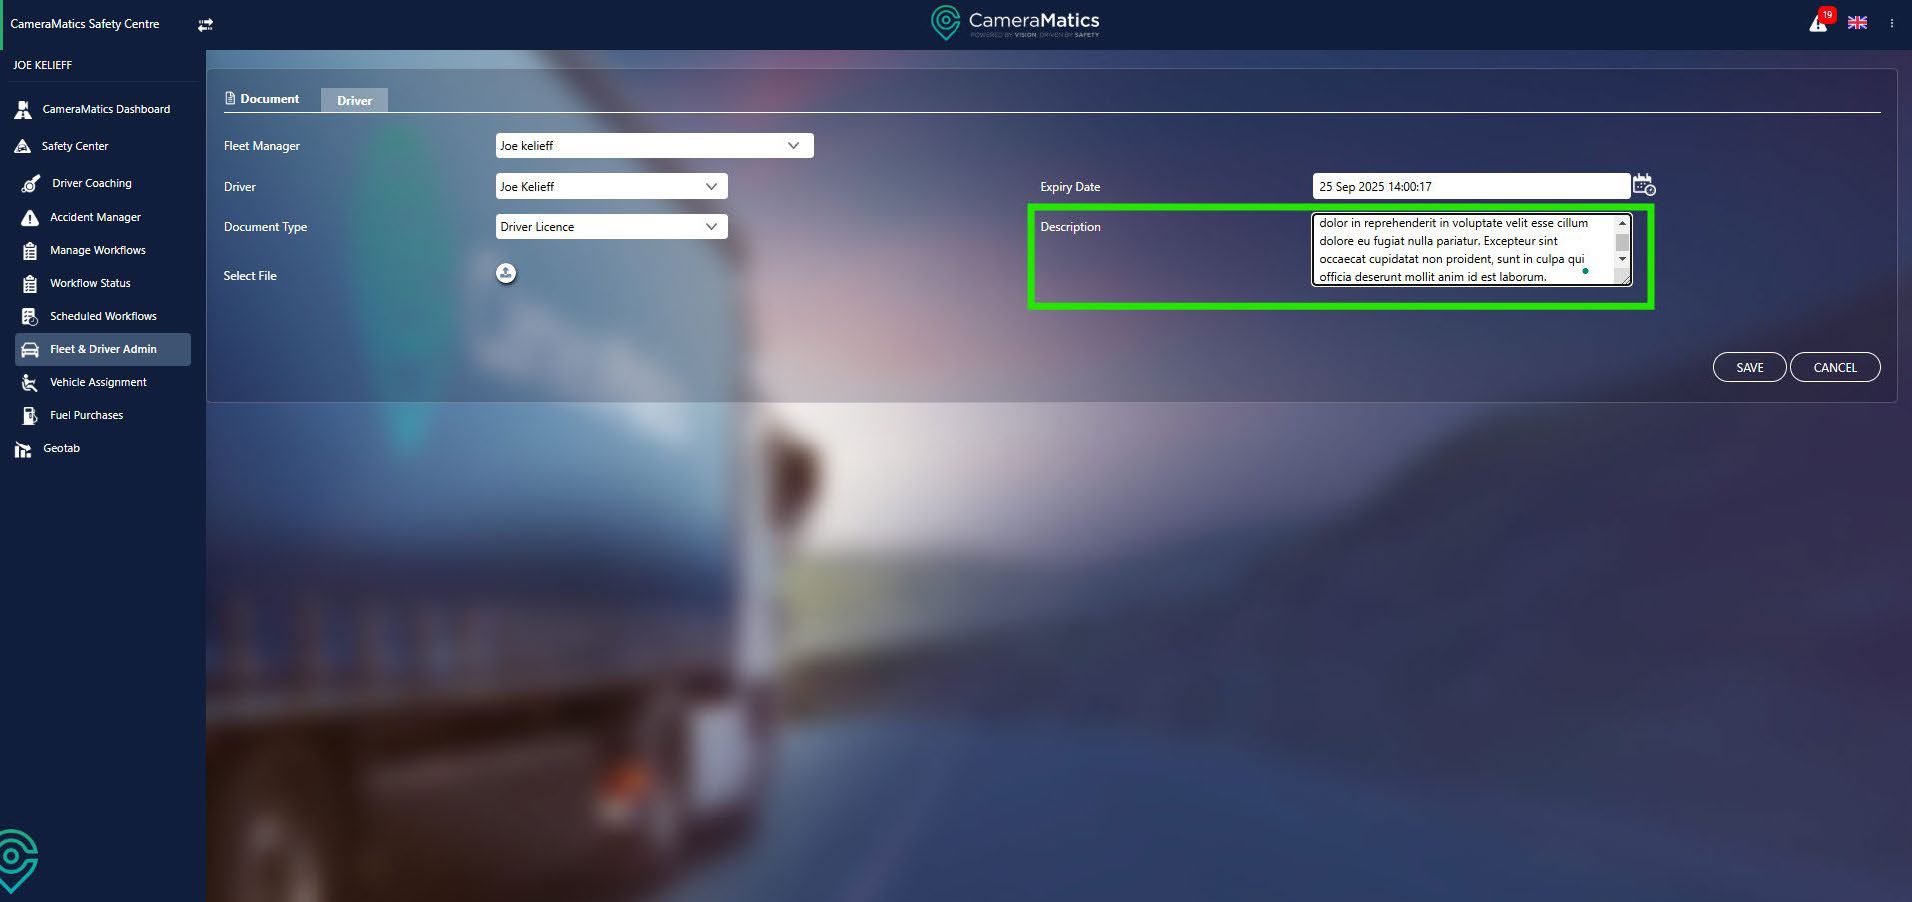
We will need to begin by selecting the fleet manager who will be looking after the documents for the drivers who report to them.
Once we have selected this we can then choose the driver whose document we are uploading.
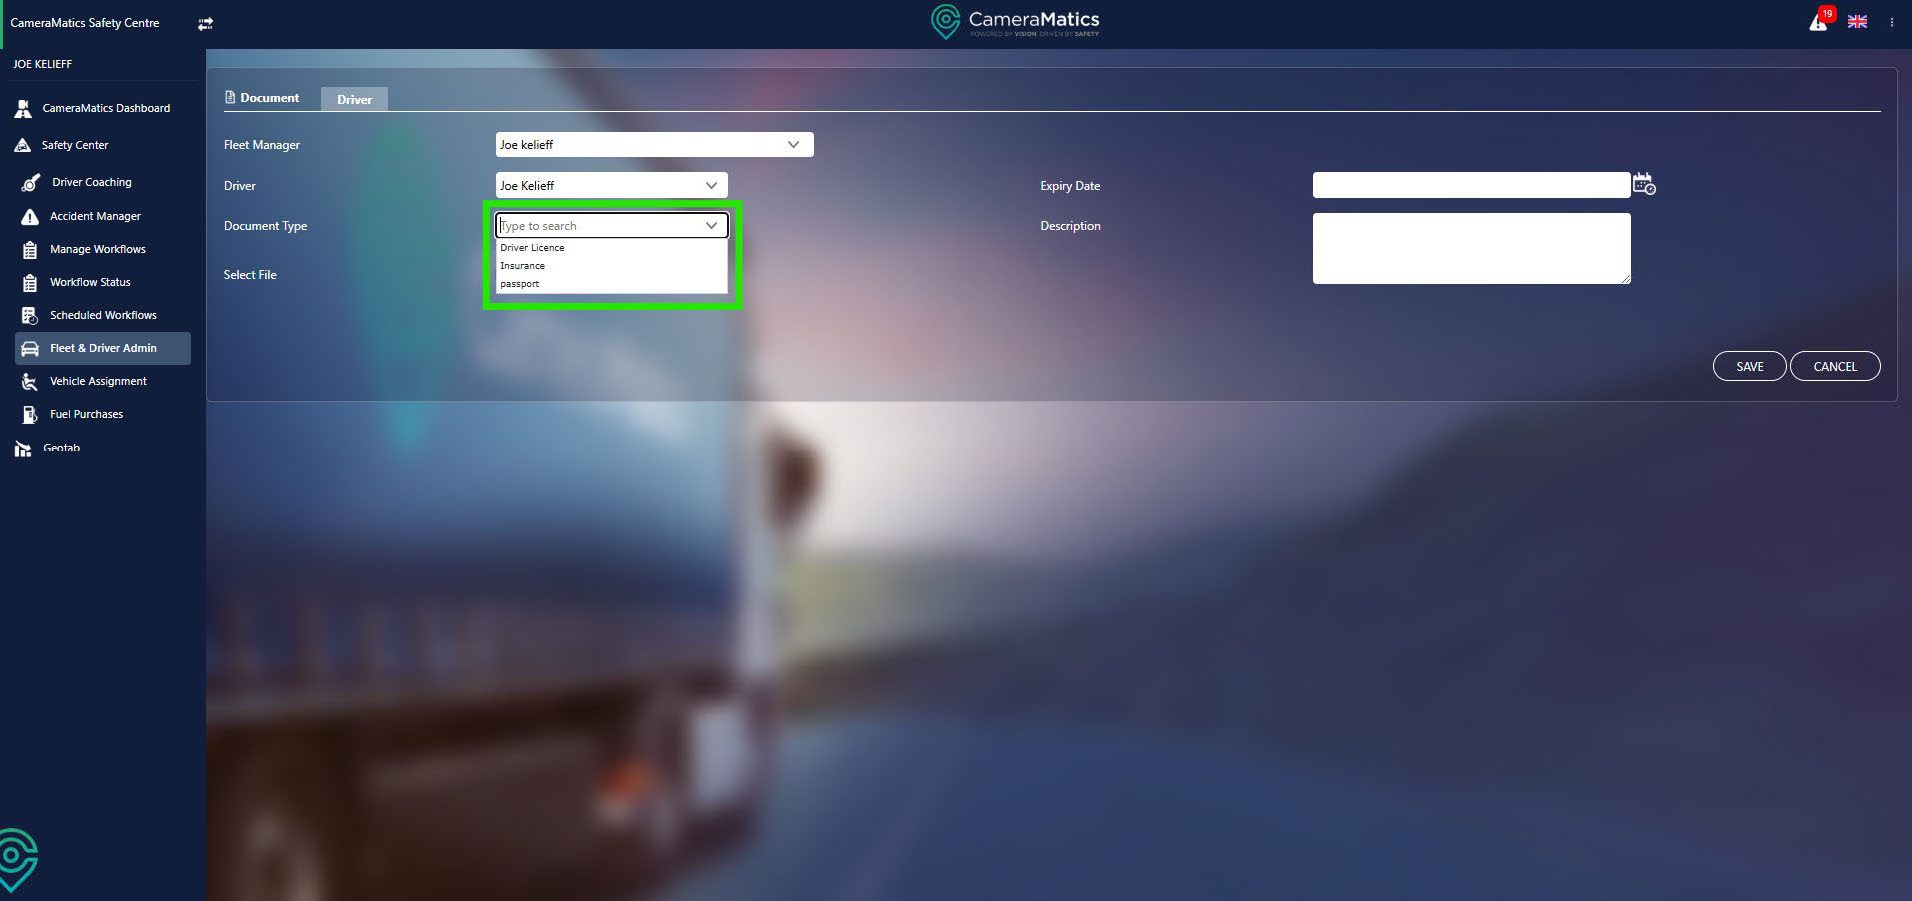
Now, we will select the type of document you will be uploading. There may be nothing in the dropdown. If this is the case, you can type in what kind of document it is. You can continue to do this for new kinds of documents.
Now you will select the file for this document. This means you can upload a picture of the document so everything is all in one place.

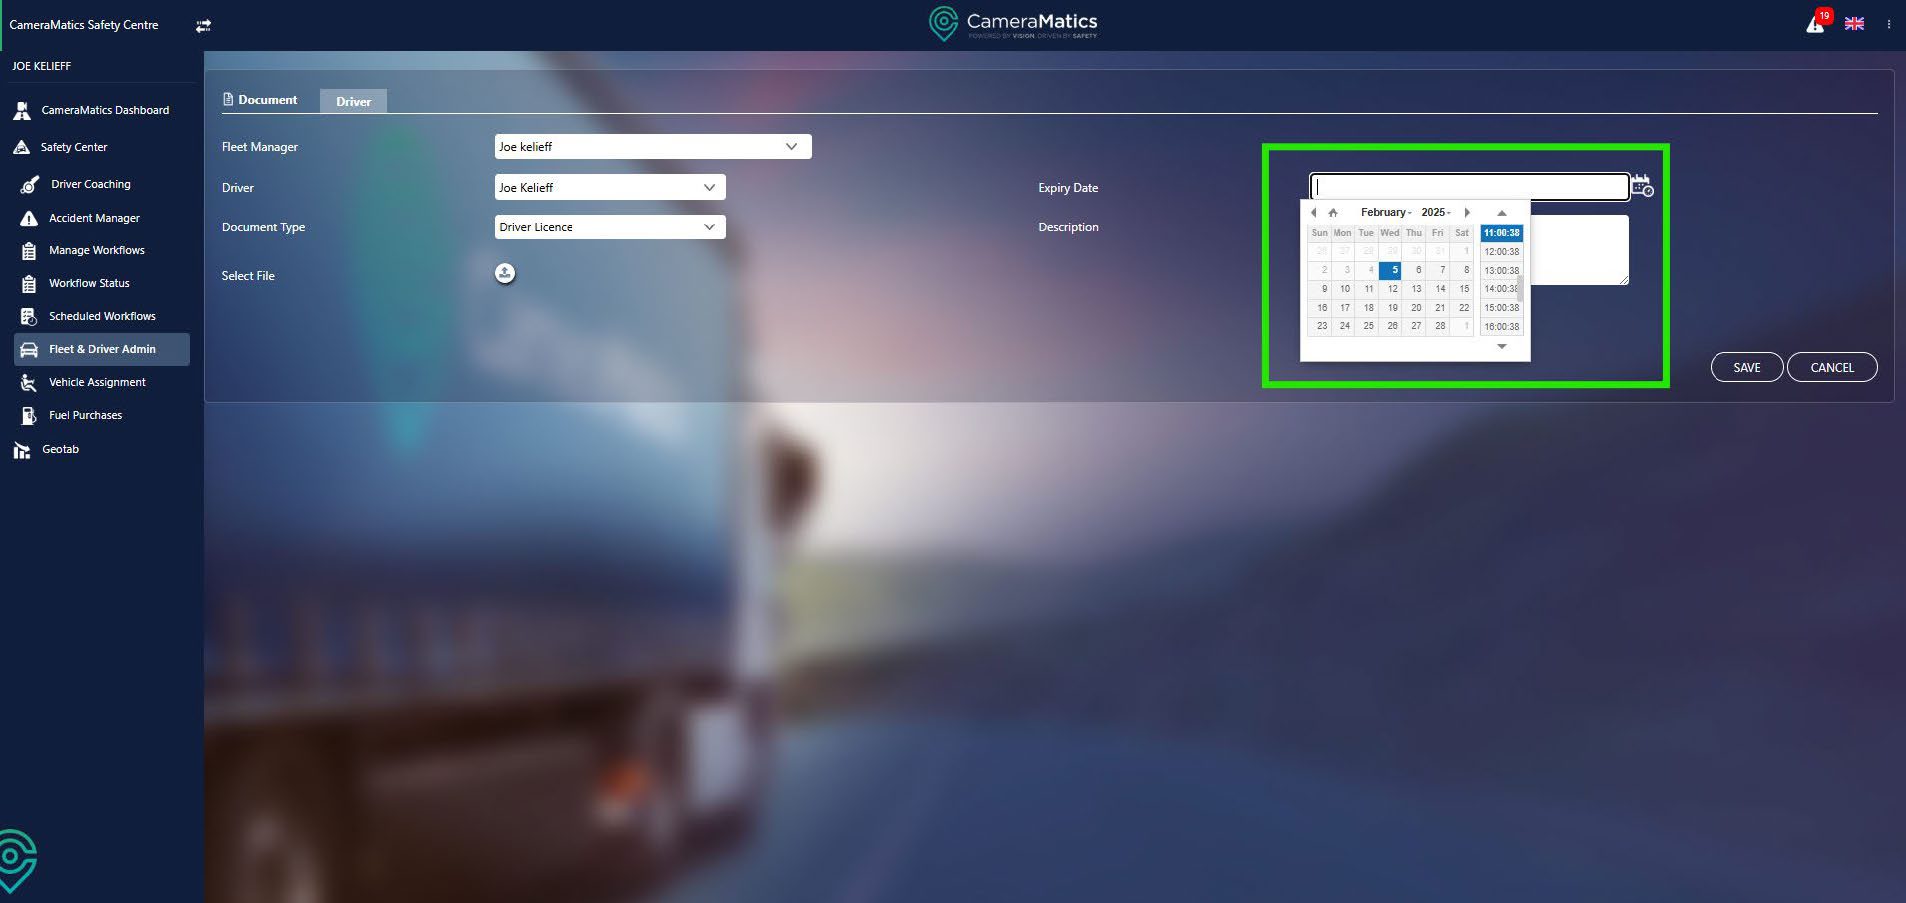
Next, you will select the expiry date. Note that you can also select the time that it will expire on the date you have selected.
Finally, you can fill in the description box of any other data that may be important relating to this document. Once you are satisfied click save, you will then be taken back to the list full of documents for your driver’s.
NOTE: Please note that anything that has been uploaded will be available to view within the driver’s app for your driver’s.


